Drive#
Programming
15 min
1#
In the previous workshop you’ve learned how to turn the robot on and off. But she is not doing anything yet. In this workshop you will learn how to drive around and why all motors are different.
BE CAREFUL
You will drive around with the robot. We do not want your robot to break, so make sure you have put the robot on the floor so she will not drive off a table.
2#
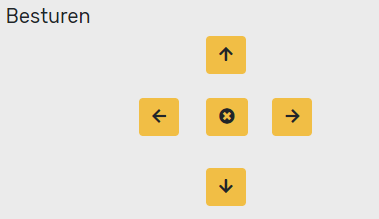
You might have already seen the ‘control’ tab in ‘actuators’ on the right. The easiest way to drive around is by clicking one of the arrows. Try to drive around with your robot. The arrow up should make your robot drive forward.
Help
- When none of the motors are turning:
Check that the wiring of the motors is correct.
Check that the small light on the motor driver is on. Make sure that it is connected to the PCB correctly. If this still fails, you might need to check if the motor driver is working at all by testing it with someone elses.
- When the motors are turning, but not in the right direction:
It could be the case that the wiring of the motors is not done correctly. For example: left is right, etc. Please make sure that they are properly connected.
3#
The robot should be able to drive now. It could be that your robot is driving a bit too fast or too slow. You can try to change these settings. It is also highly likely that your robot does not go perfectly straight since both motors have a slightly different speed.

4#
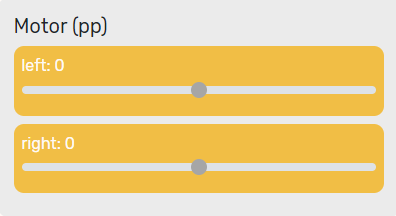
We can get a bit better understanding of the fact that not both motors are turning with the same speed. We can also control the motors individually. Each motor can get a value from -100 to 100.
-100 |
fully backward |
0 |
stop |
100 |
fully forward |
Each motor is slightly different and will only start to rotate at a different value. Below that threshold, you will only hear a soft beep. This is the sound of the motor trying to move, but still having too much friction.
4#
Assignment: Put the robot on the ground and try to find the values where the motor starts to move the robot for each motor.
The left motor turns… |
|
|---|---|
… forward from value: |
… |
… backward from value: |
… |
The right motor turns… |
|
|---|---|
… forward from value: |
… |
… backward from value: |
… |
5#
Assignment: Lift the robot up, and try to find the values again.
The left motor turns… |
|
|---|---|
… forward from value: |
… |
… backward from value: |
… |
The right motor turns… |
|
|---|---|
… forward from value: |
… |
… backward from value: |
… |
6#
You will see that the values are different depending on whether the robot is on the ground or not. When the robot is touching the ground it will feel more friction resulting in the motor trying to rotate even more.
But you have probably also seen that each motor has a slightly different starting value. Each motor is different and will only start at a slightly different value.
But also the battery power might be of influency. It could be that these values change depending on the state (full or empty) of the battery.
TIP
It is better to make sure your battery is always fully powered.
6#
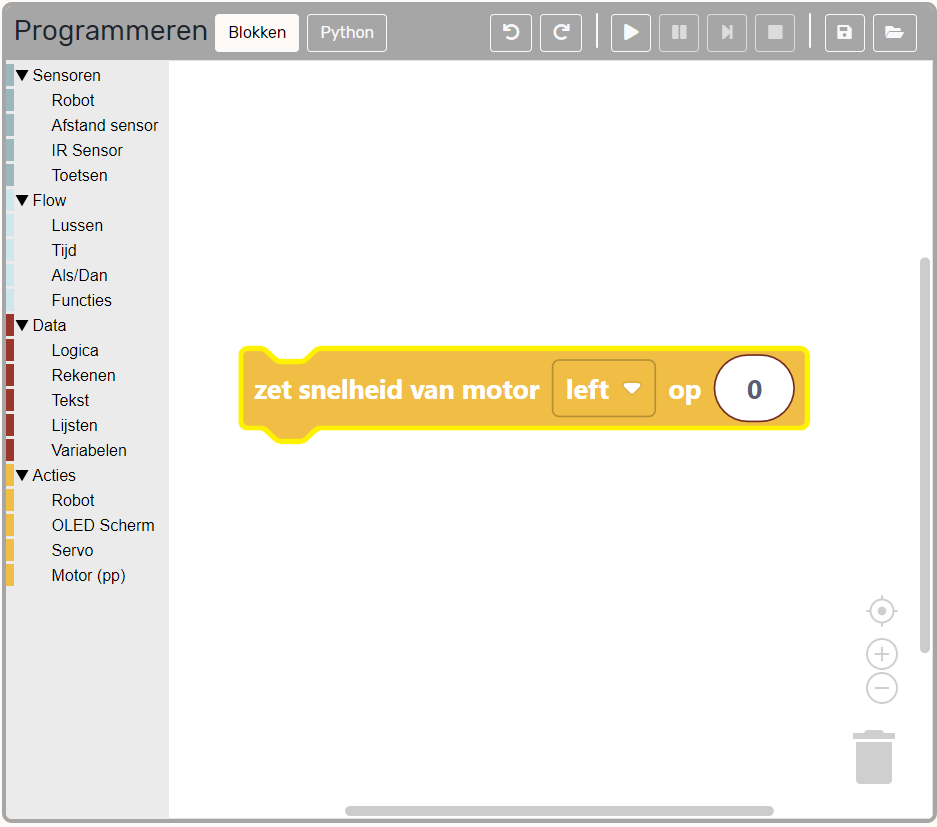
Of course there is also a way of programming the robot. This is where we need the ‘Programming’ tab. Under ‘actions’ you will see the ‘Set speed of left motor to 0’. You can use this one to make the robot move.

7#
As soon a you want to test your code, you can press the ‘play’ button. The robot should now move.

Help
- My robot is not moving:
Please have a look at the next step.
8#
As soon as you are asking the robot to run the code you will see that the robot did not actually move. This is because we make the robot stop moving as soon as the program finished. So we have to tell the program it should not stop right away.

9#
Assignment: Try to program the robot to drive a square. Or a cicrle?
You can use the ‘wait x seconds’ to change the size of the square.