Check parts#
Execute
10 min
Before we start, we have to check if we have all parts need for the upcoming workshops.
1x Computer
The computer is the robot’s brain. This is where all information of the sensors come in. After that the computer decides what to do with these measurements. It sends a signal to the microcontroller to control the actuators. The computer also creates the connection to your own laptop.
1x Micro Controller
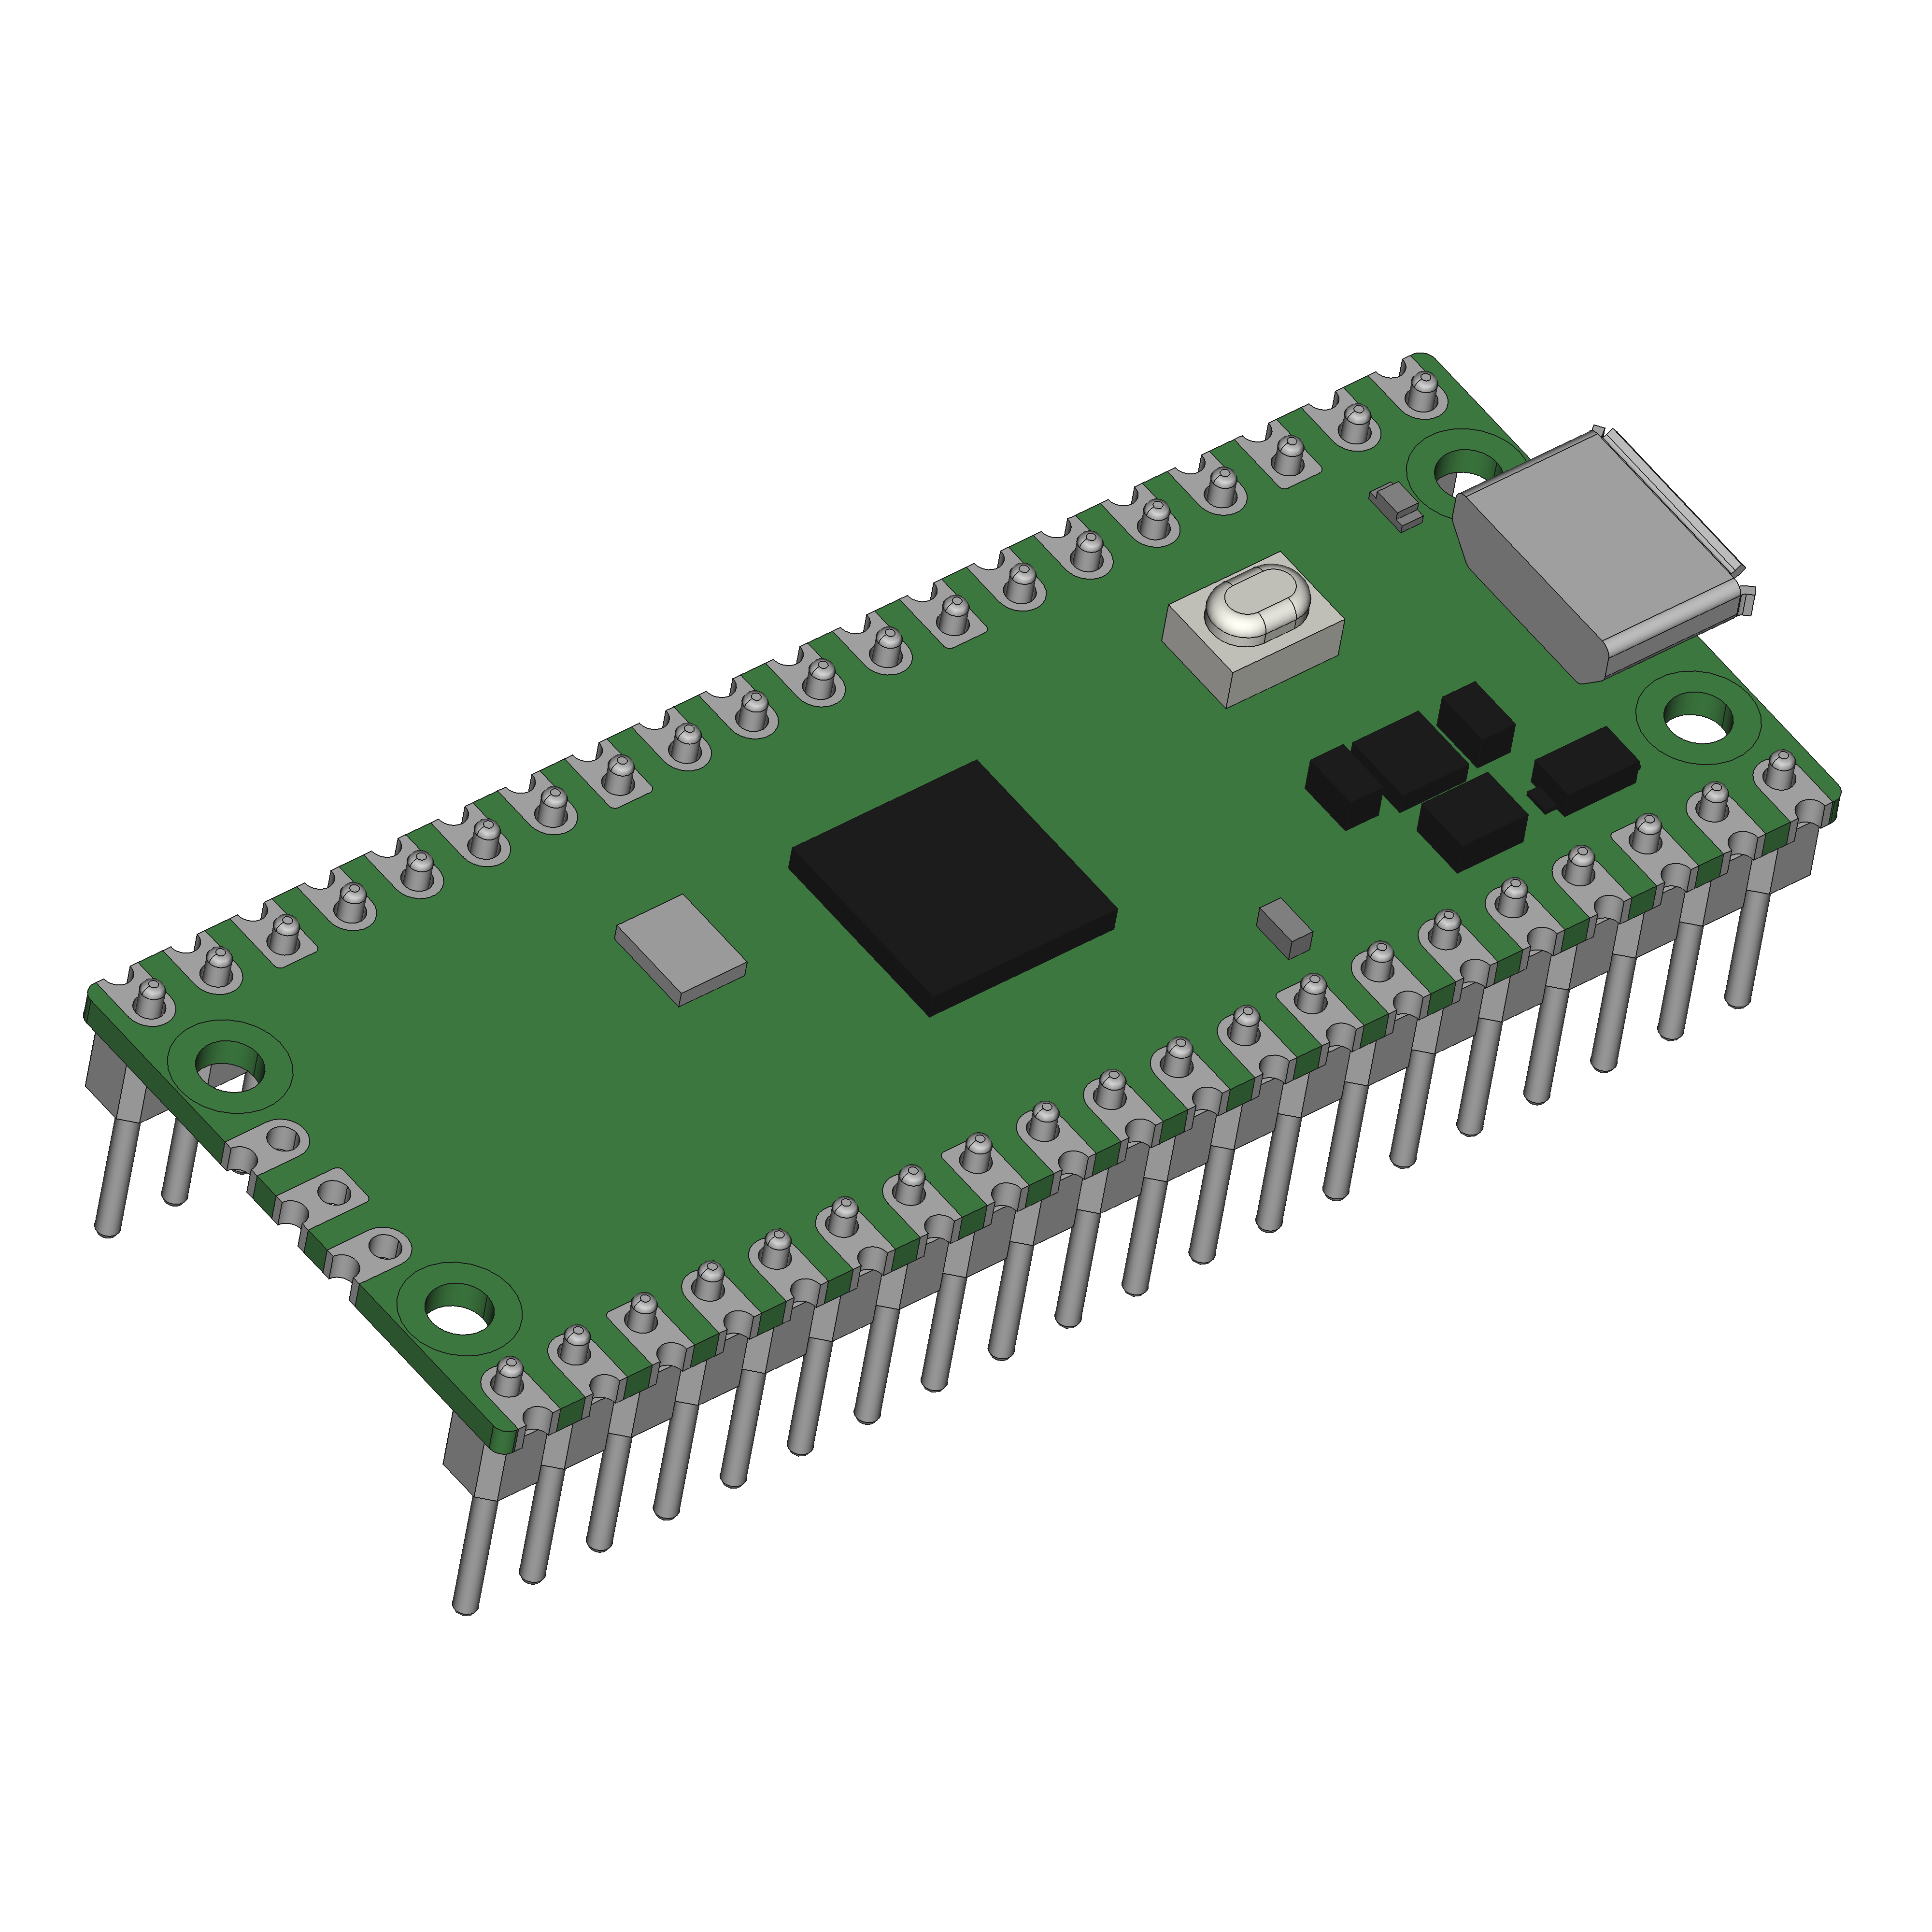
The microcontroller receives the measurements of the sensors and sends these to the computer. The microcontroller also receives the instructions from the computer to control the actuators (like motors).
1x Motor Driver

The motor driver makes sure that the motors will get the right voltage, in order for the motor to turn with the desired speed and direction. Without this driver, the motor would only be able to be on or off.
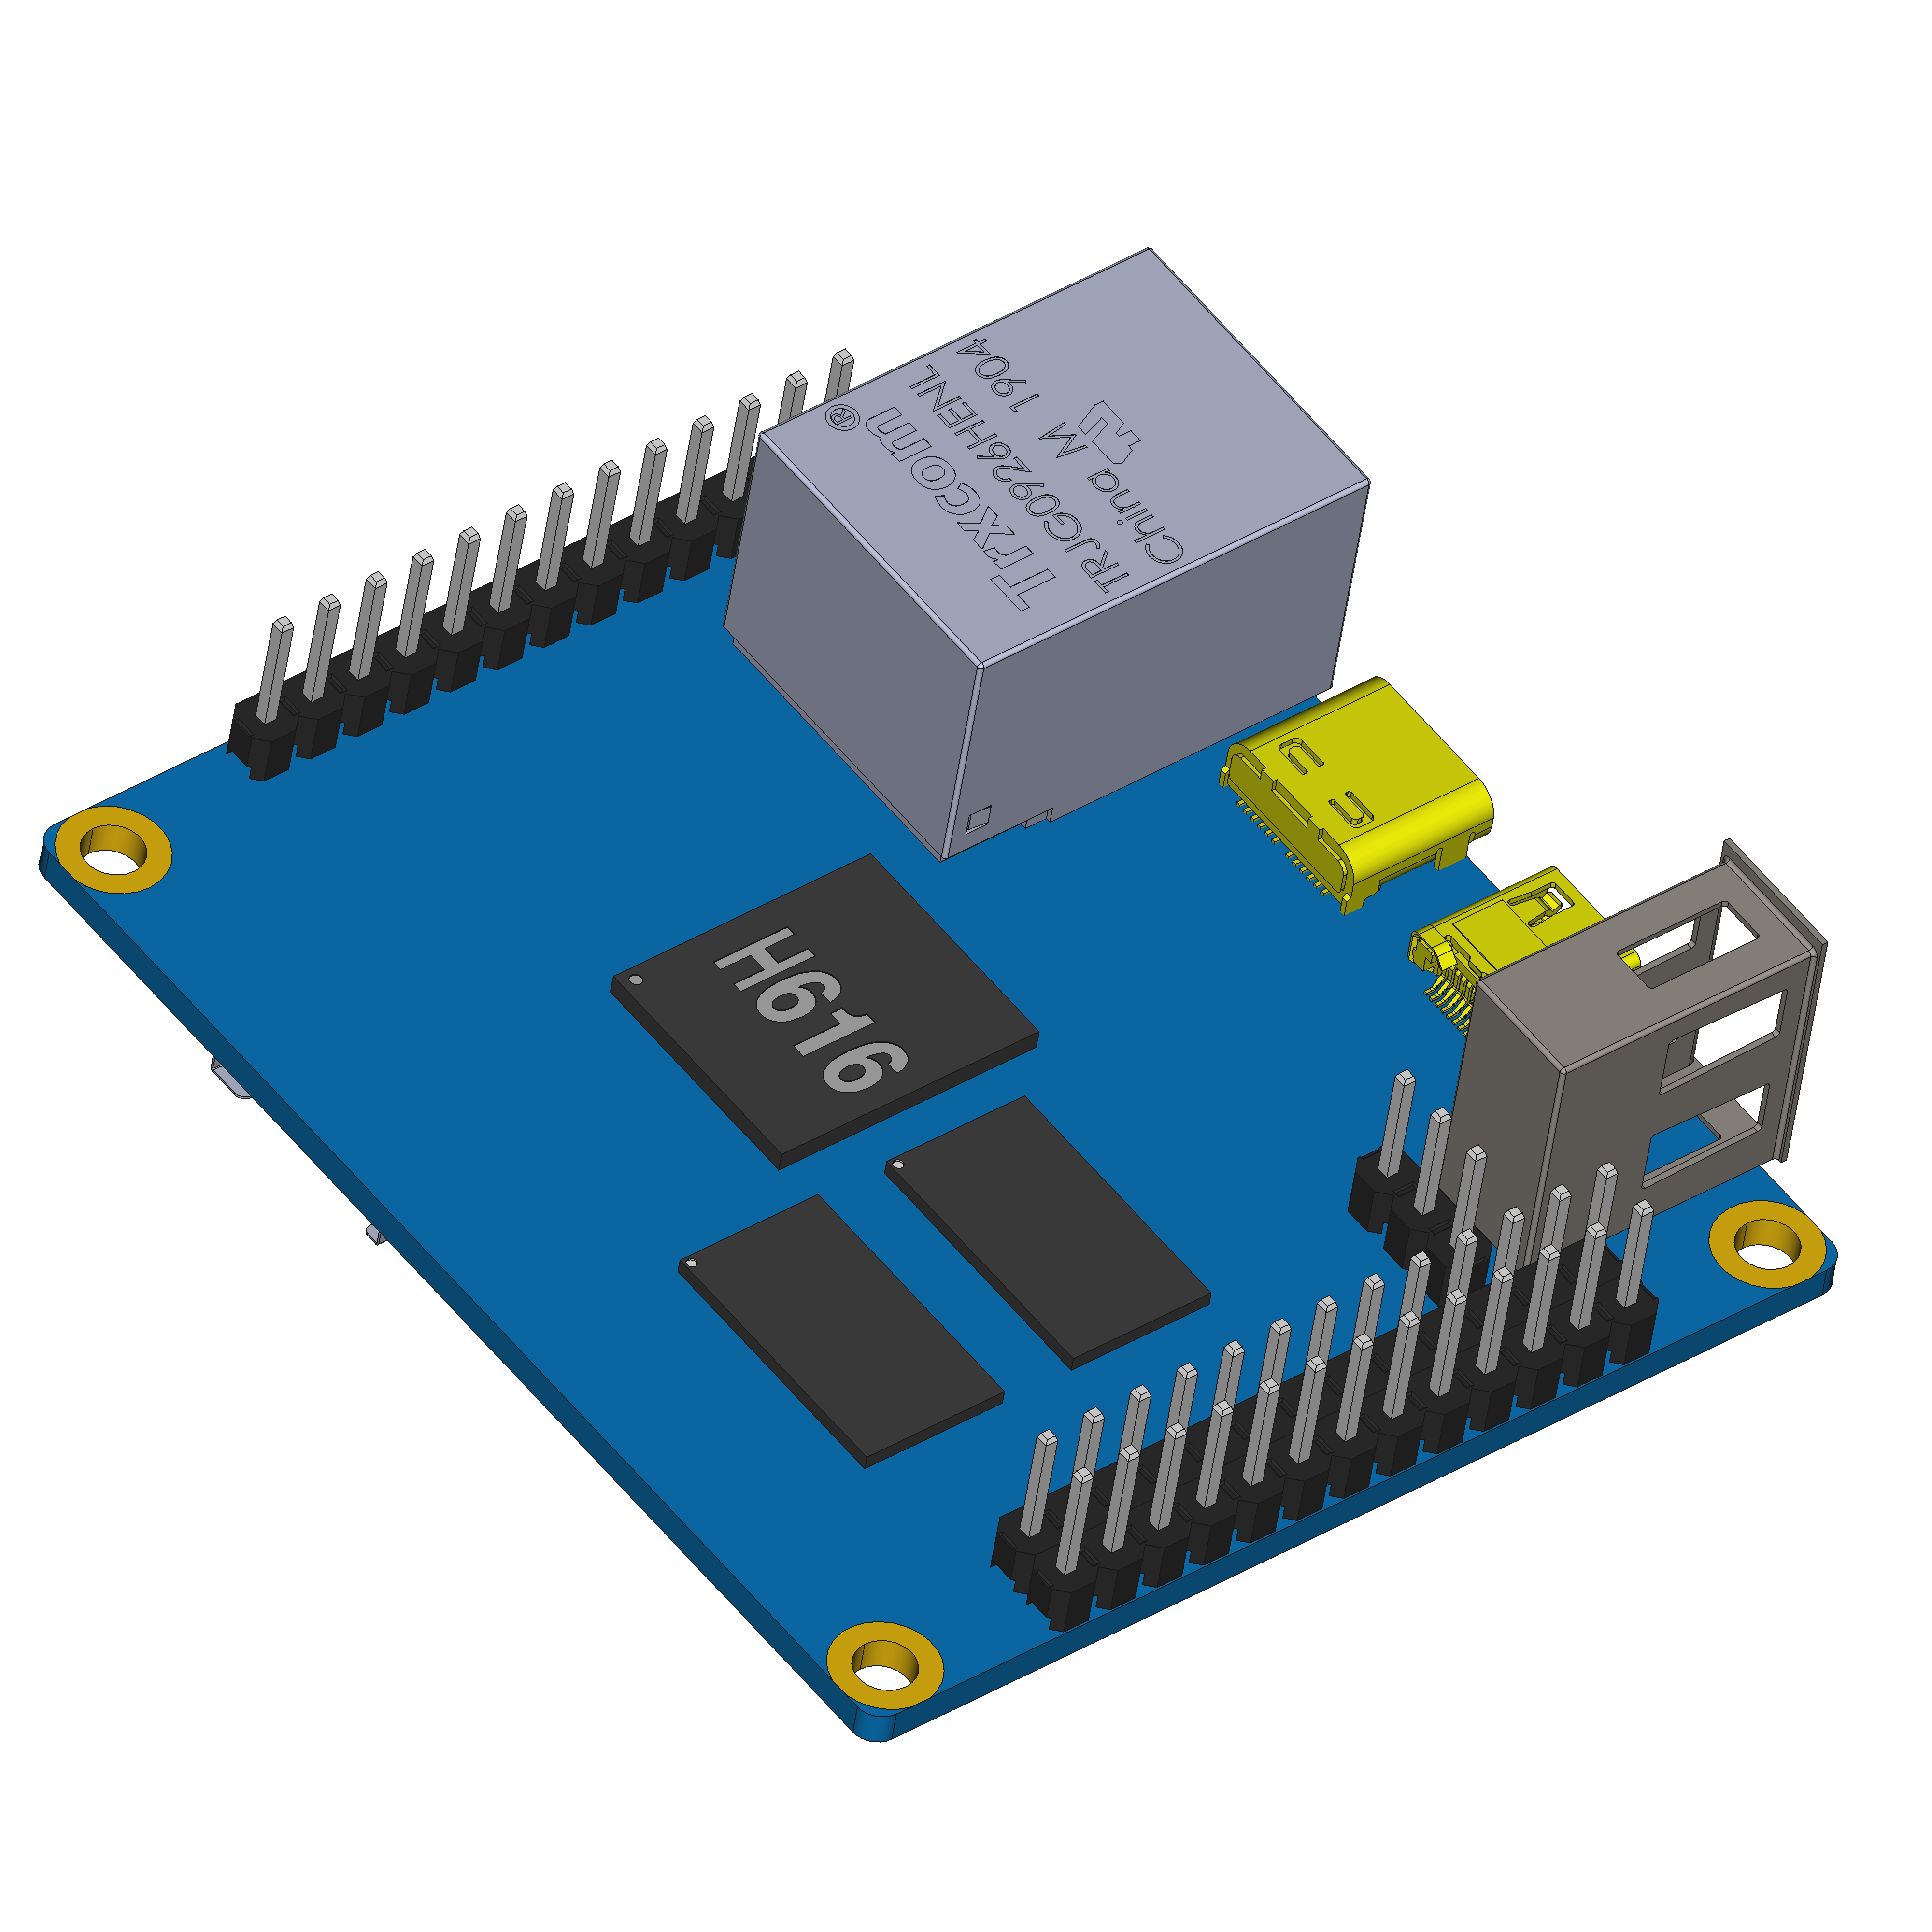
1x Mirte PCB

The Mirte PCB is used to easily connect all components. In this way you connect the computer, microcontroller, motor driver and all sensors and actuators.
1x Battery
The robot of course also needs power. This is usually an electrical battery. The battery makes sure that all electrical components can work.
2x Motor
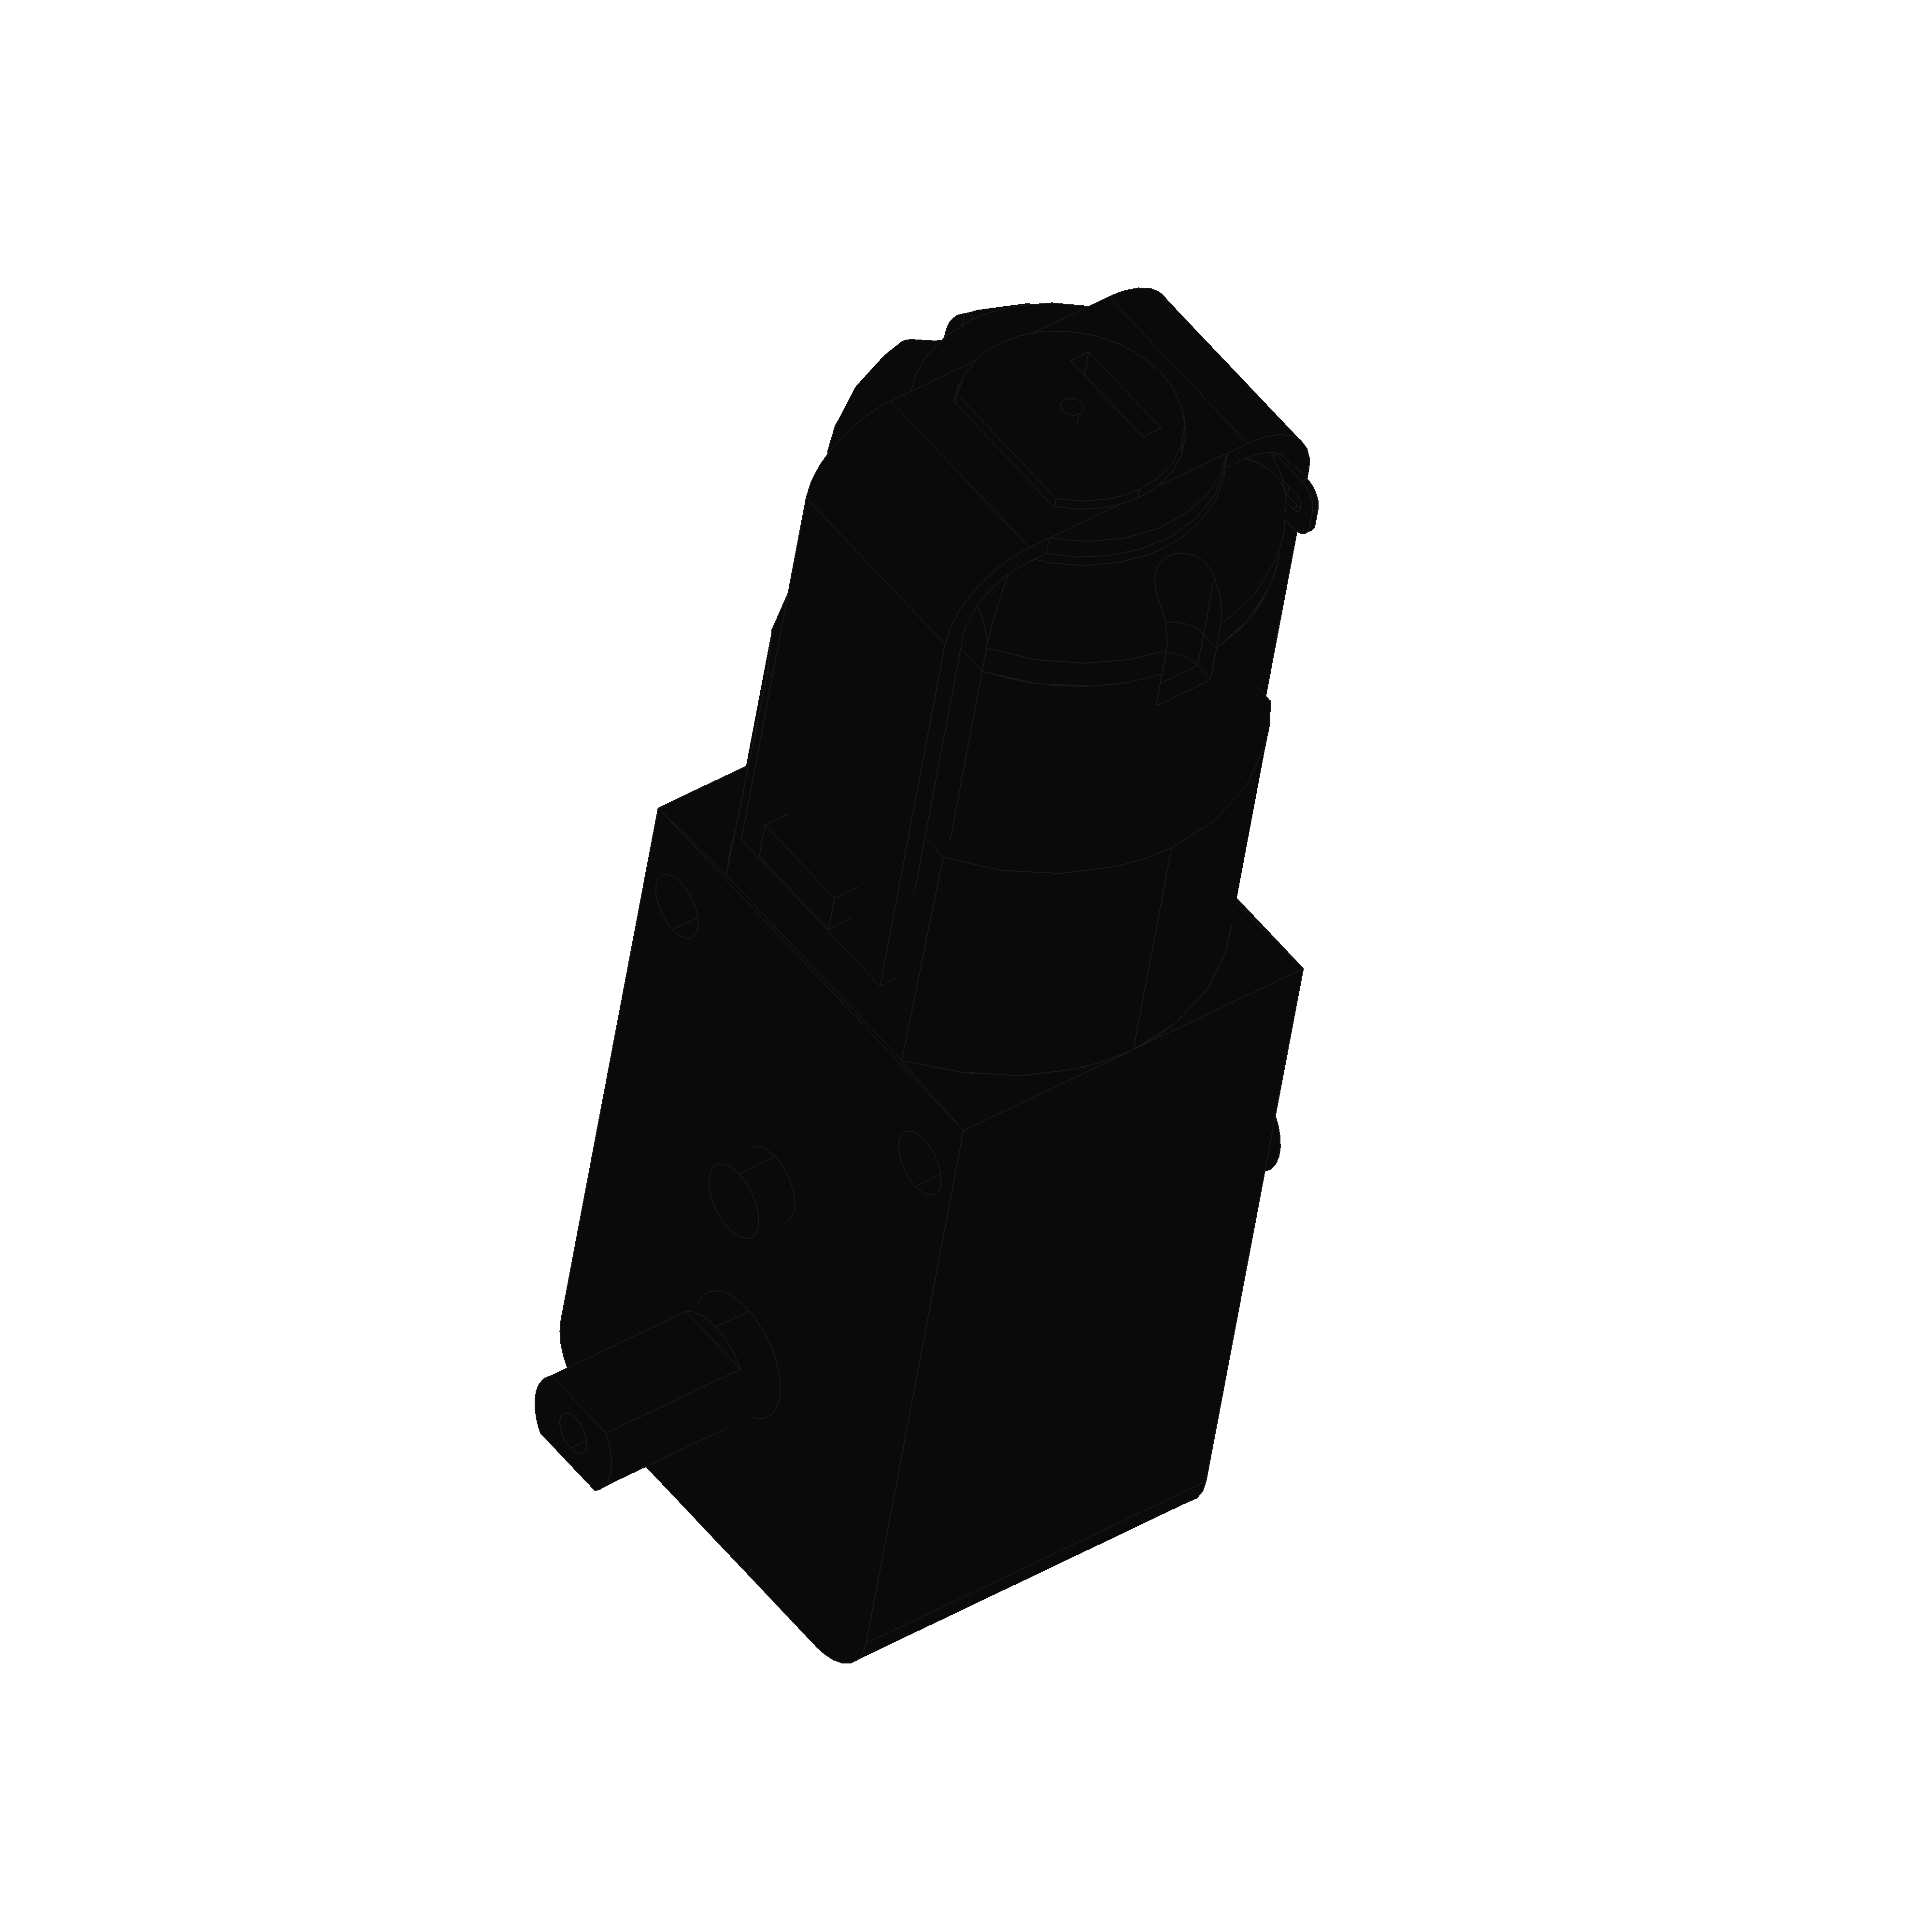
The motor ensures that the wheels can turn around and your robot is able to drive.
2x Wheel
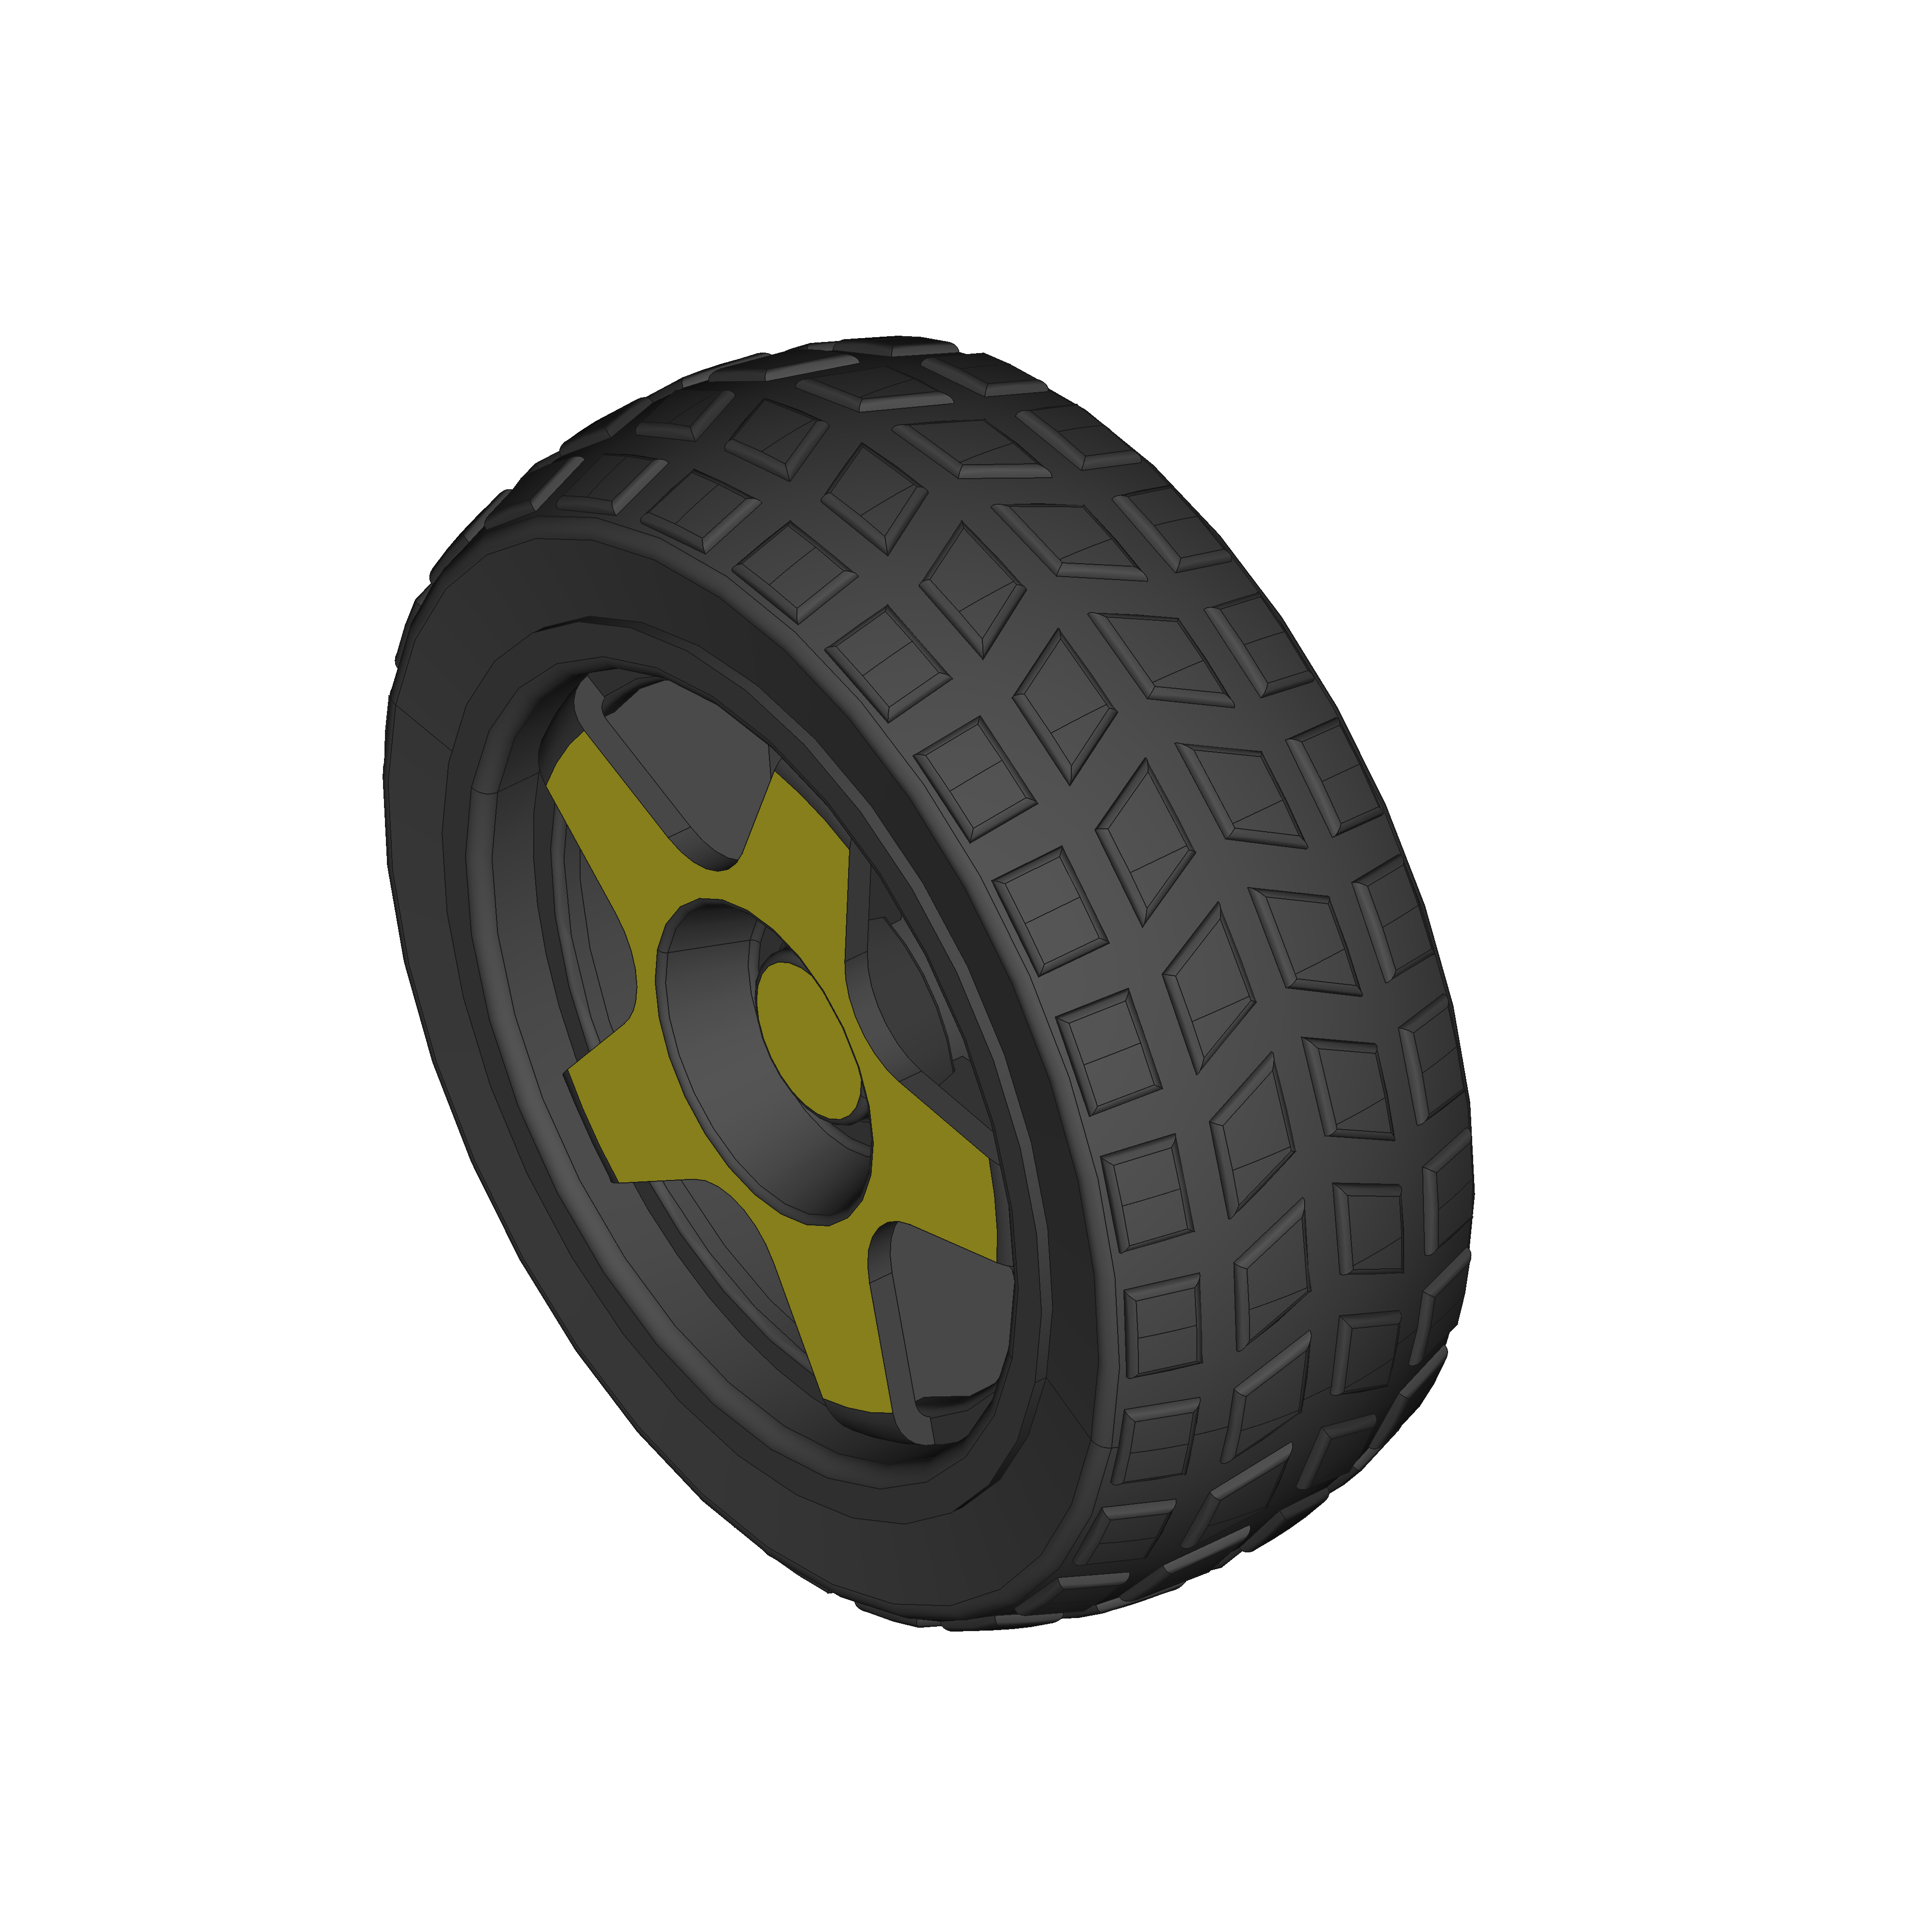
The wheels makes sure your robot is able to drive.
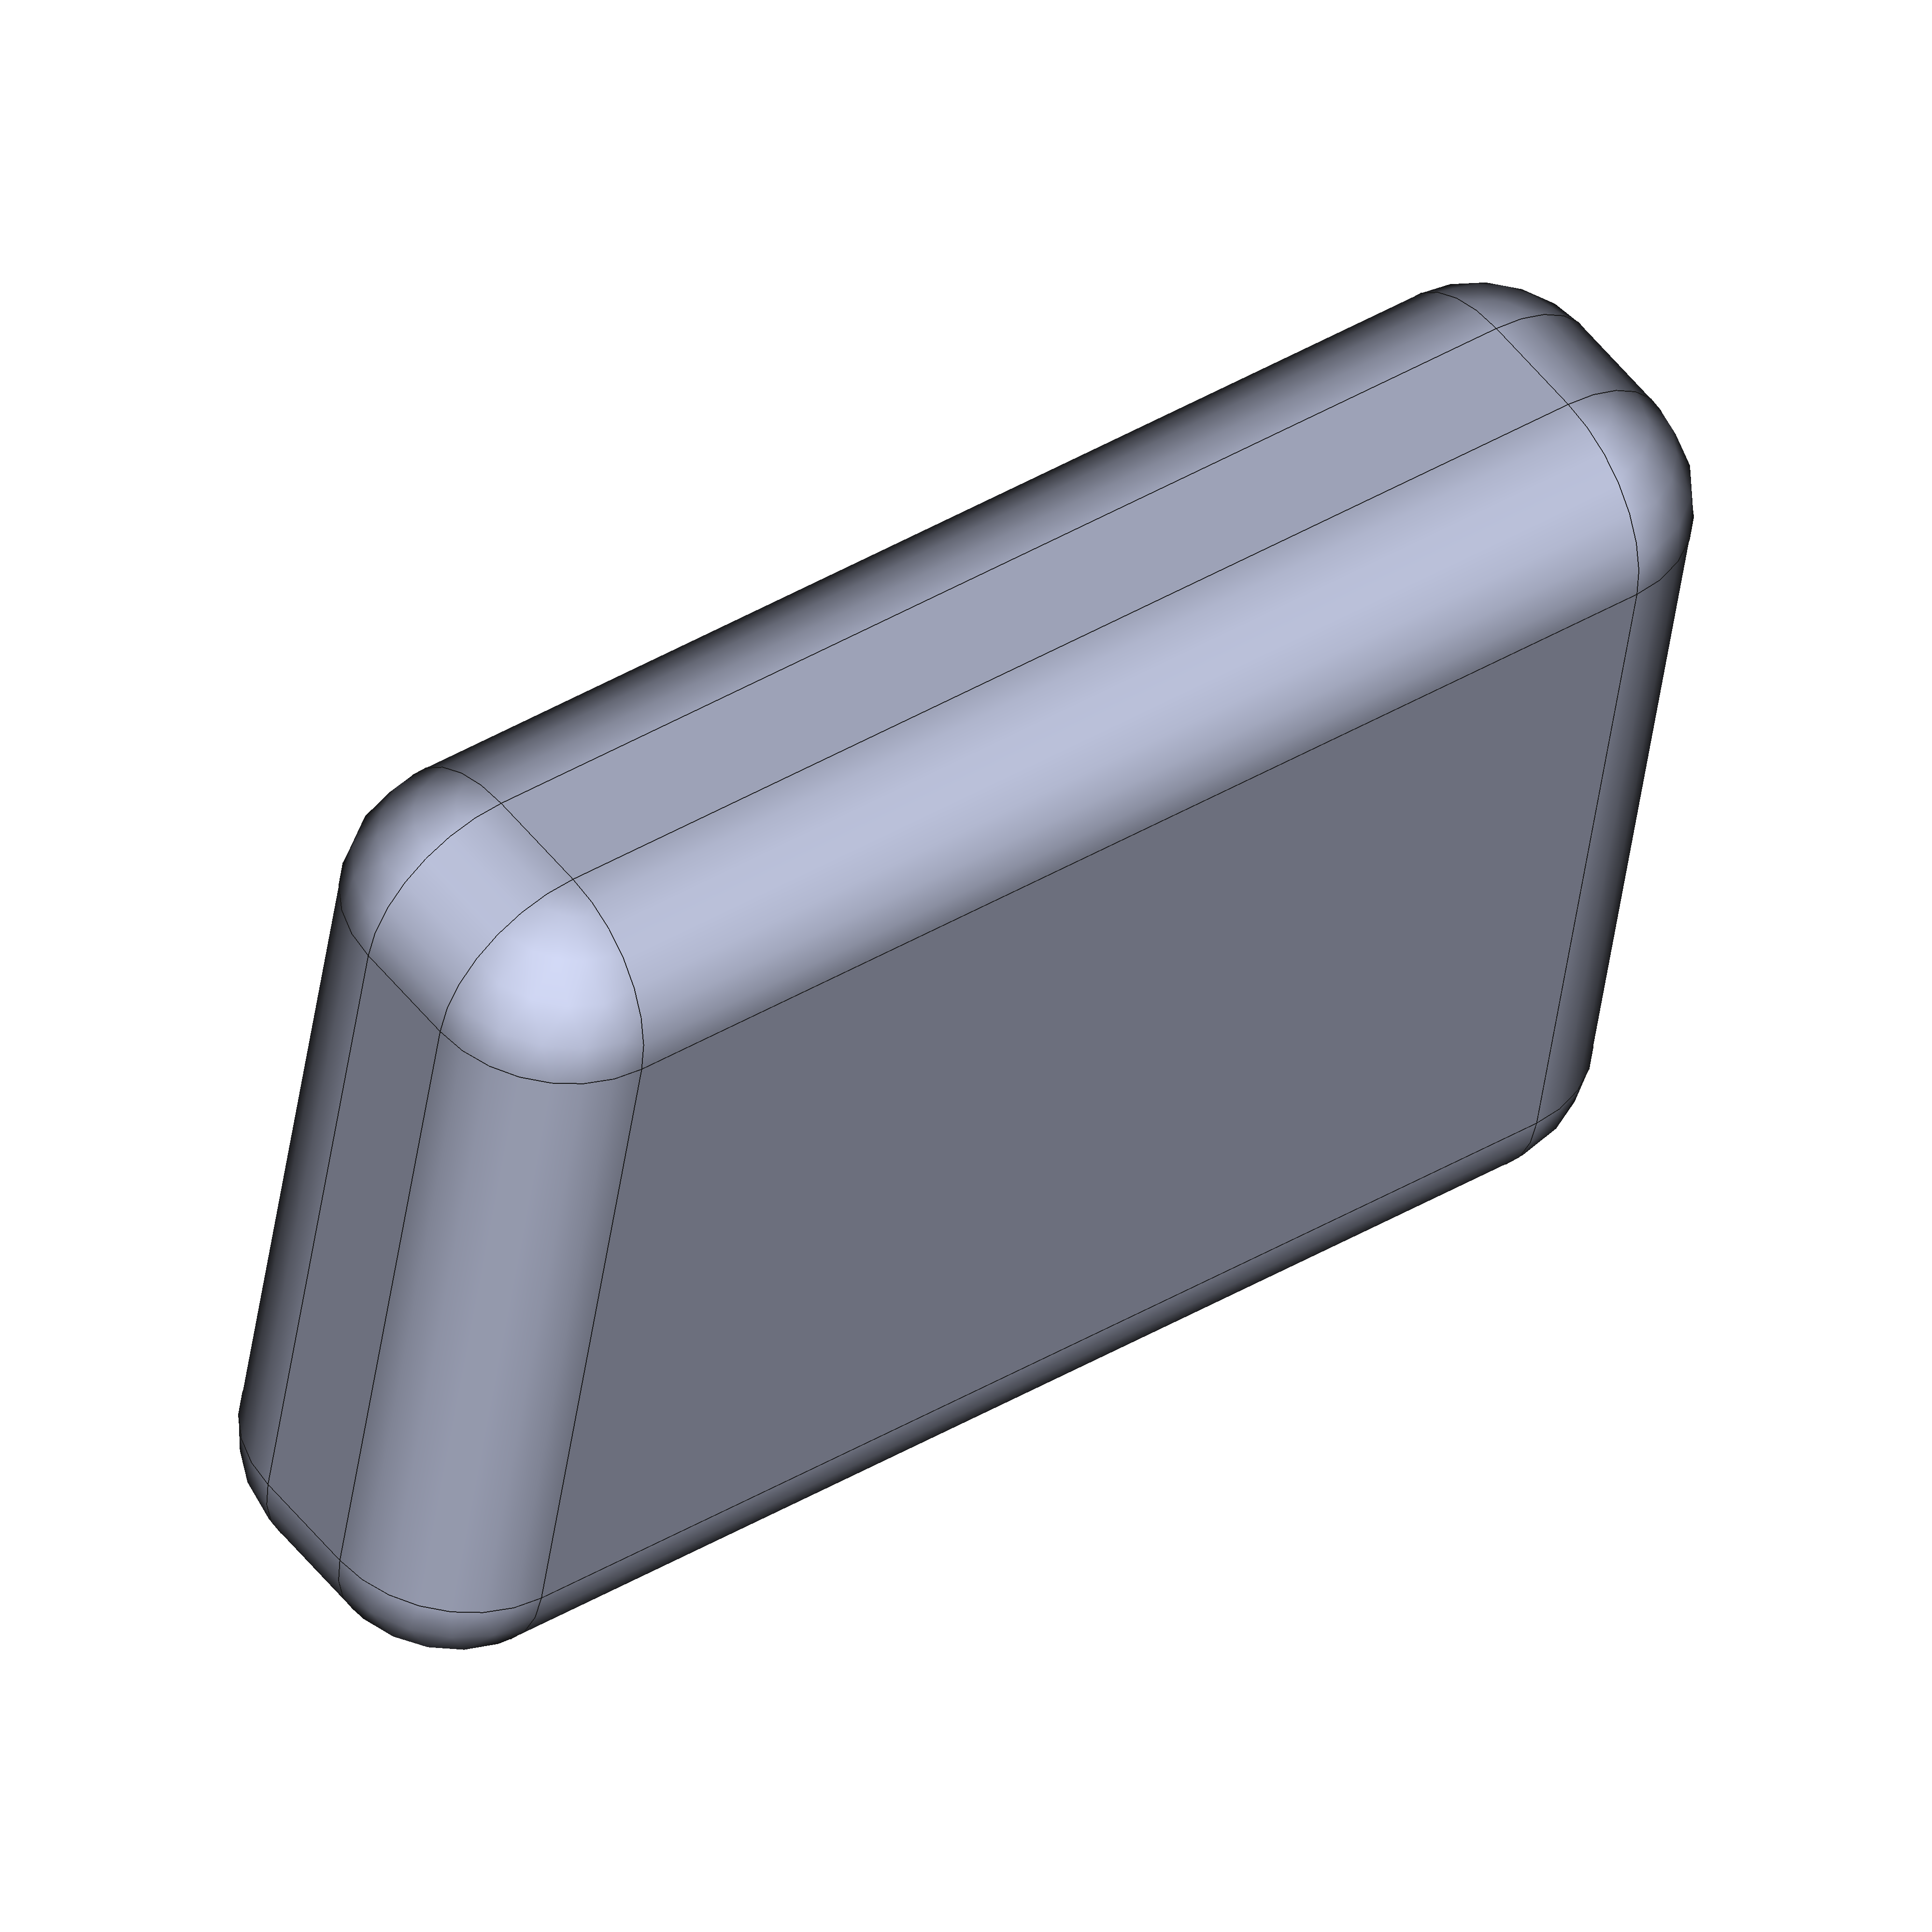
1x Ball caster

The ball caster makes sure your robot is stable and does not tip over. If your robot would only have 2 wheels, it would have to balance itself (which is quite hard).
1x Linefollow Sensor
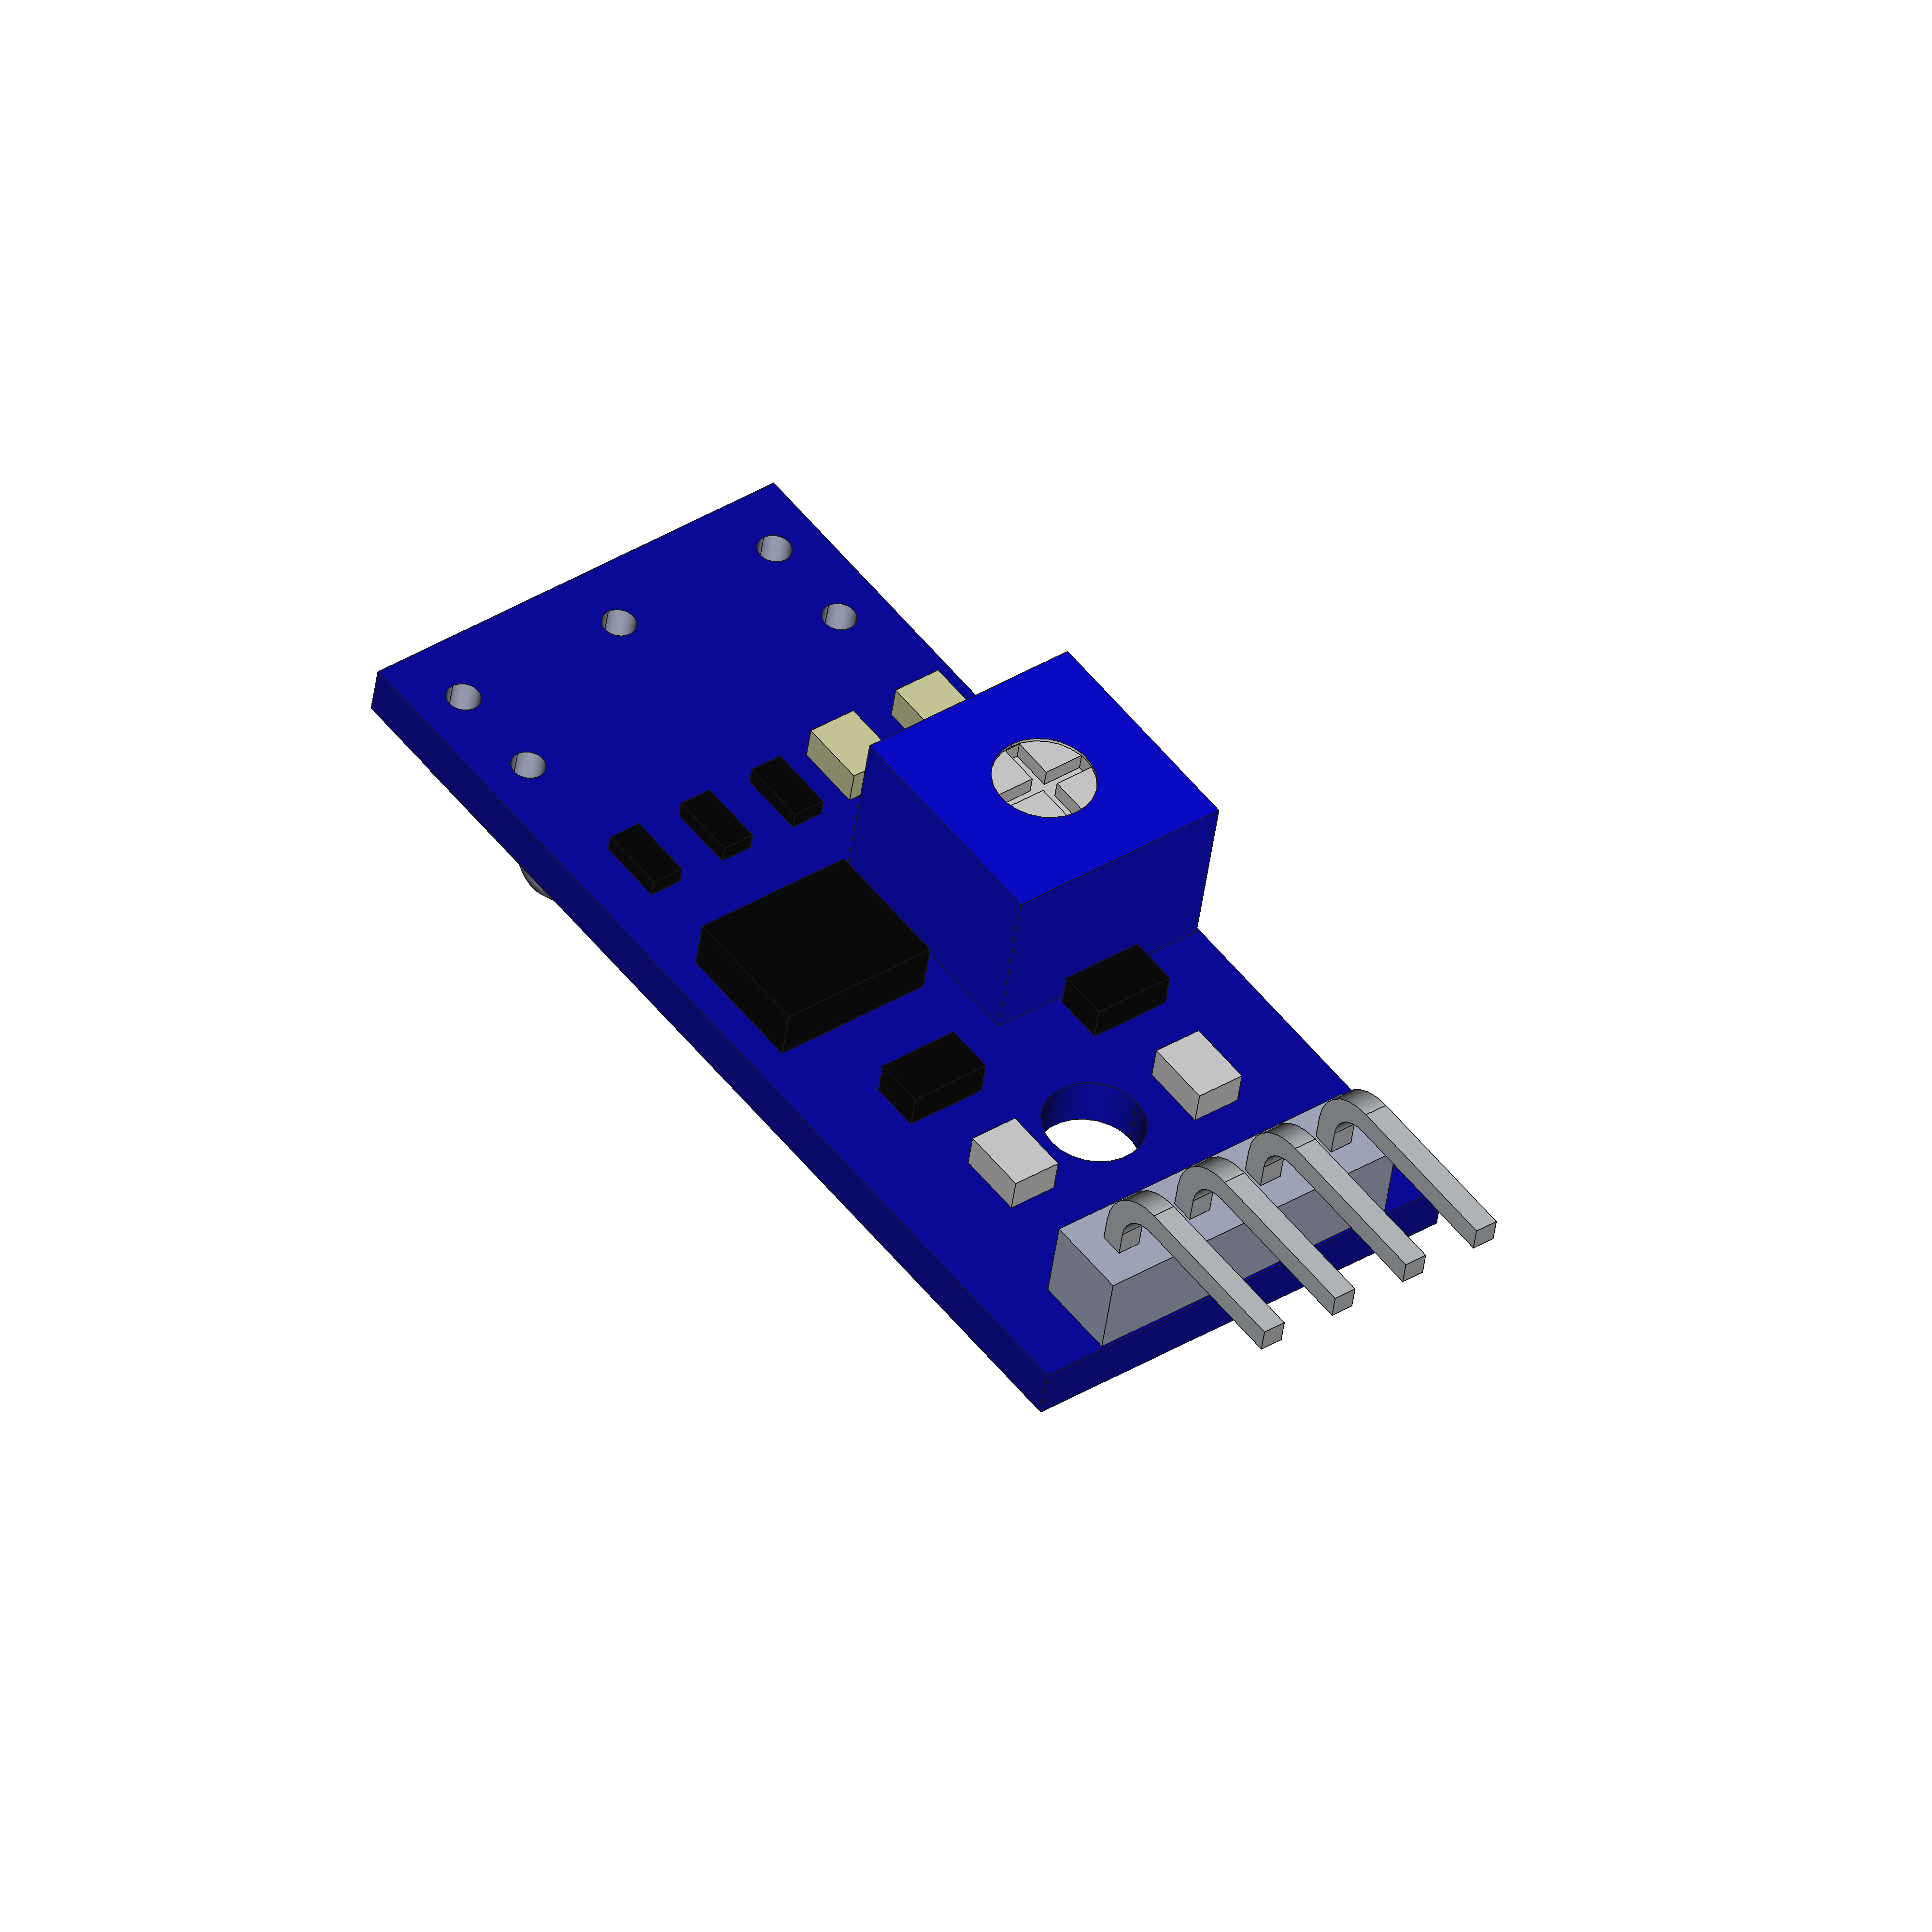
The linefollow sensor can measure the lightness of an object it is looking at. When faced towards the floor, this sensor can measure is it is looking at a (dark) line, or a (more light) background.
1x JST Cable (4 pin)

We need these cables to connect the sensors to the Mirte PCB.
1x USB Cable
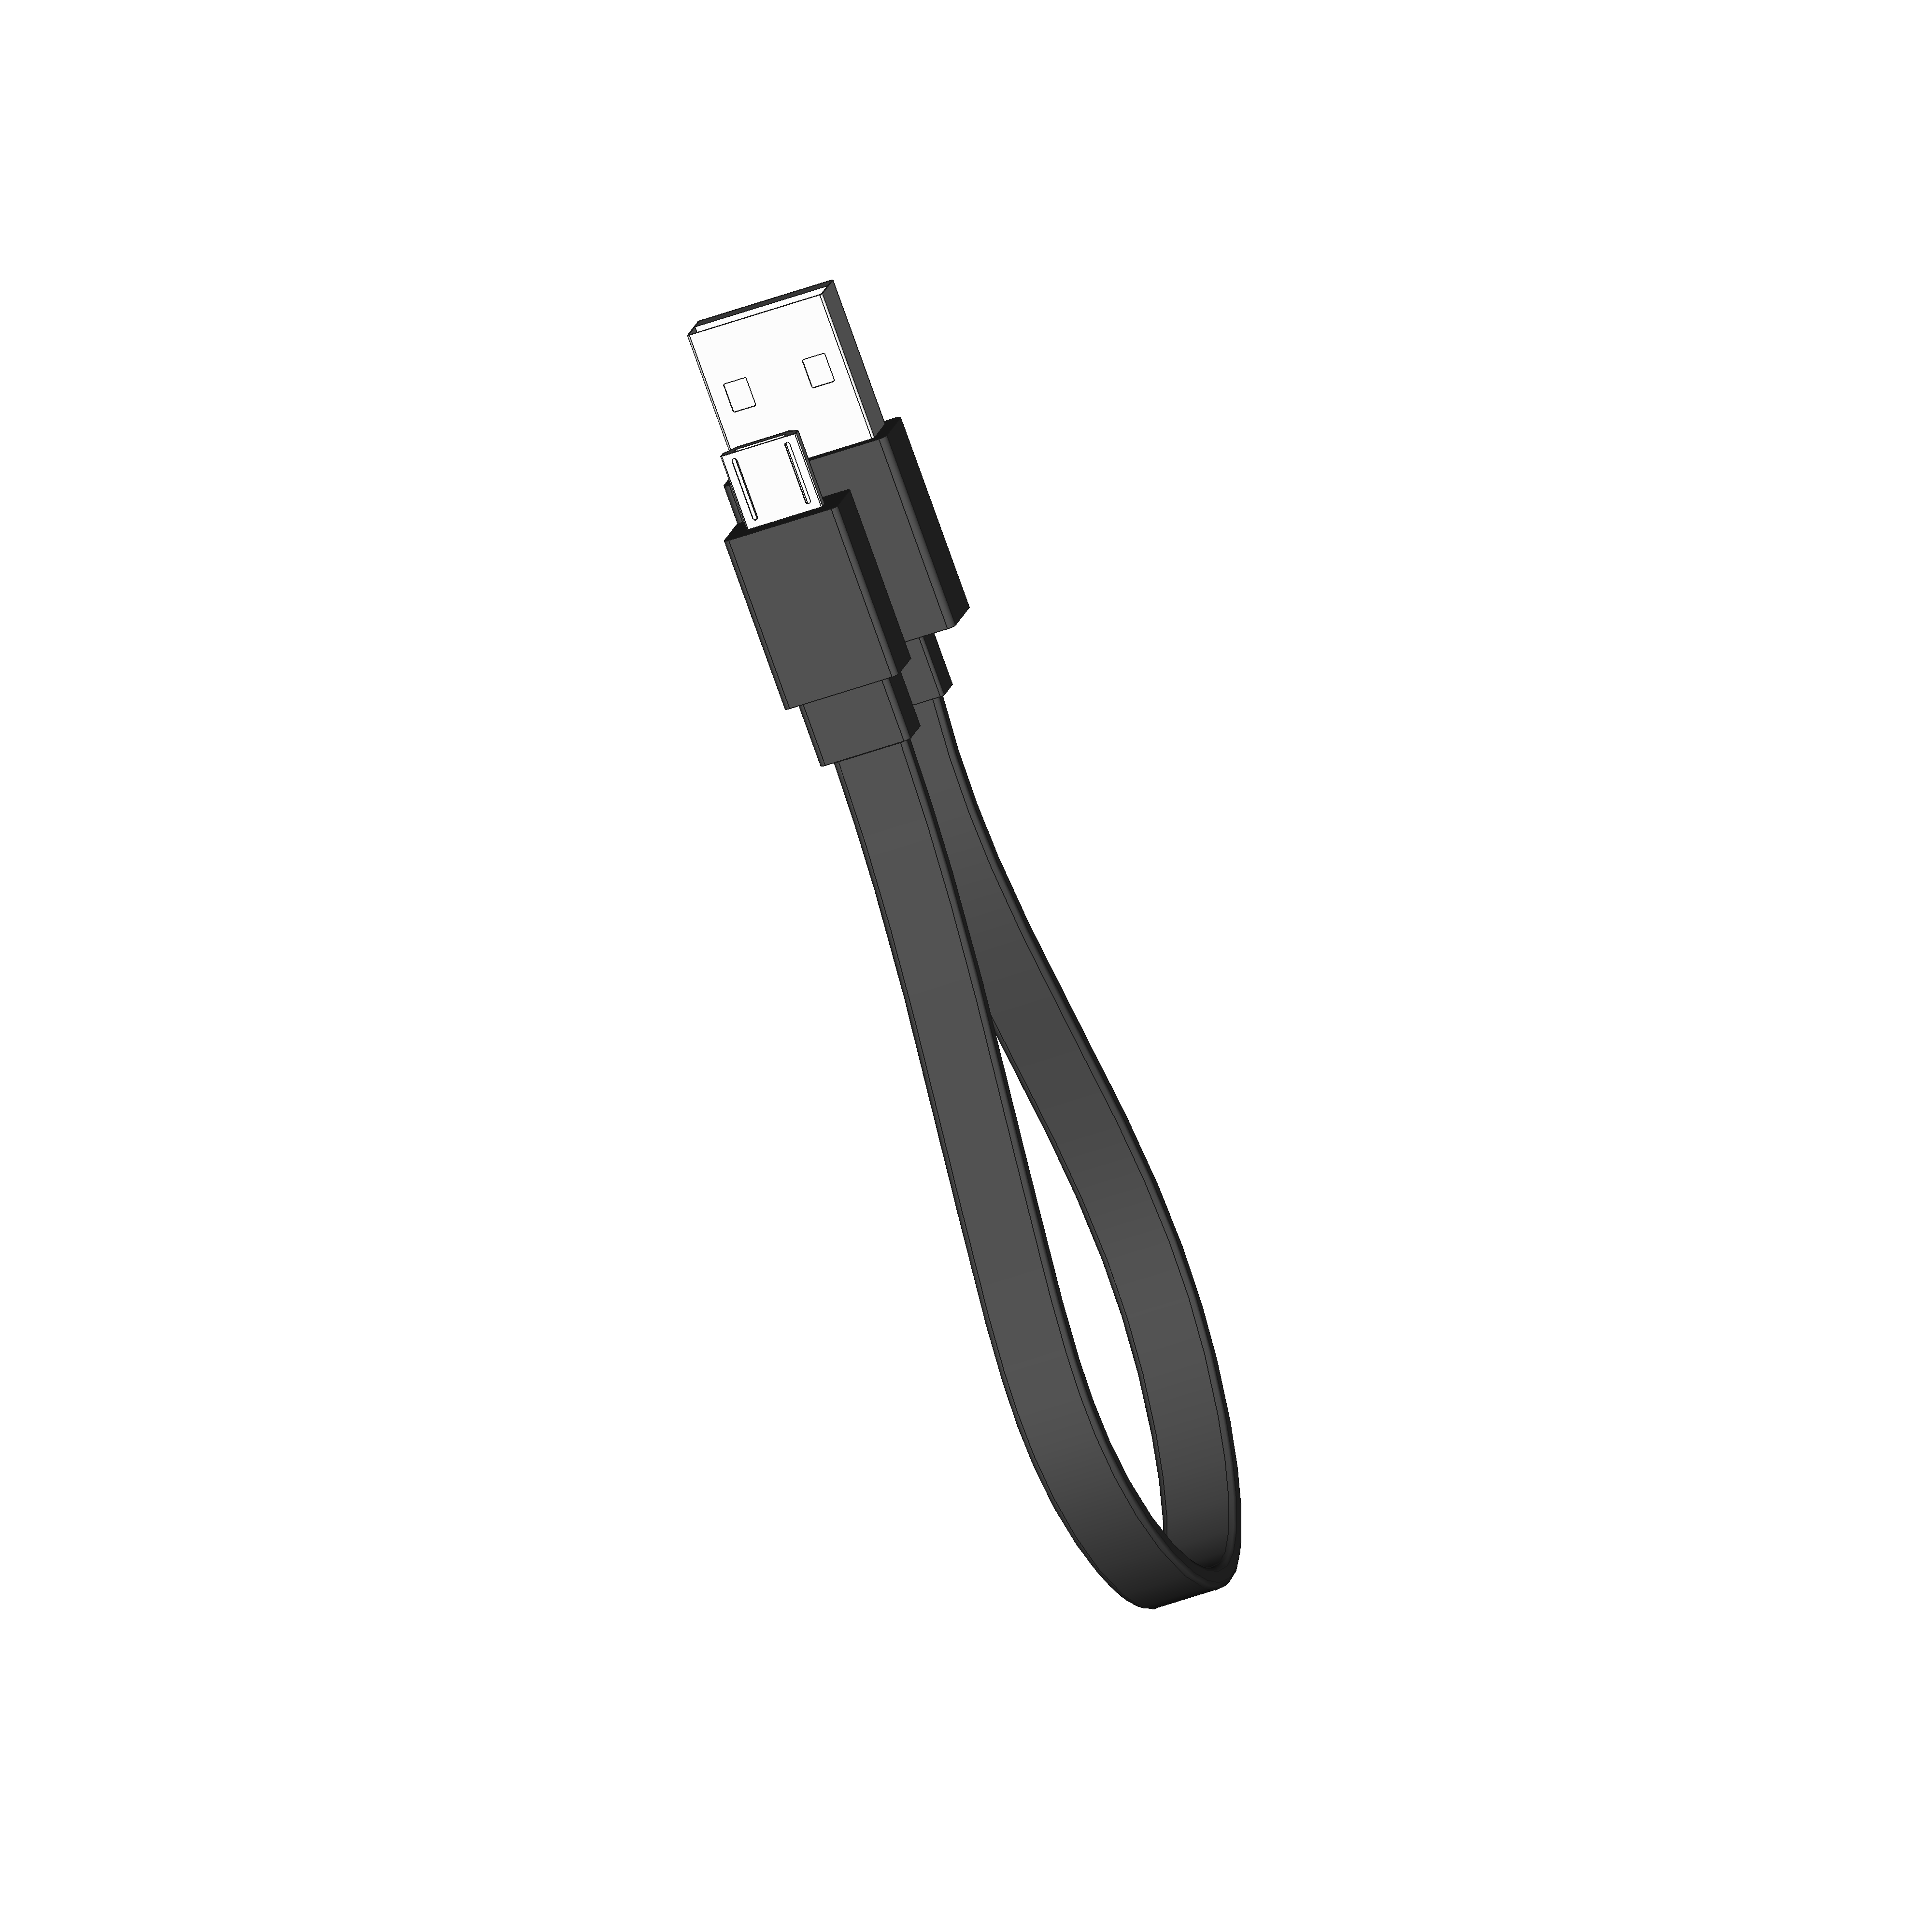
The USB cable is needed to connect the Mirte PCB to the powerbank.
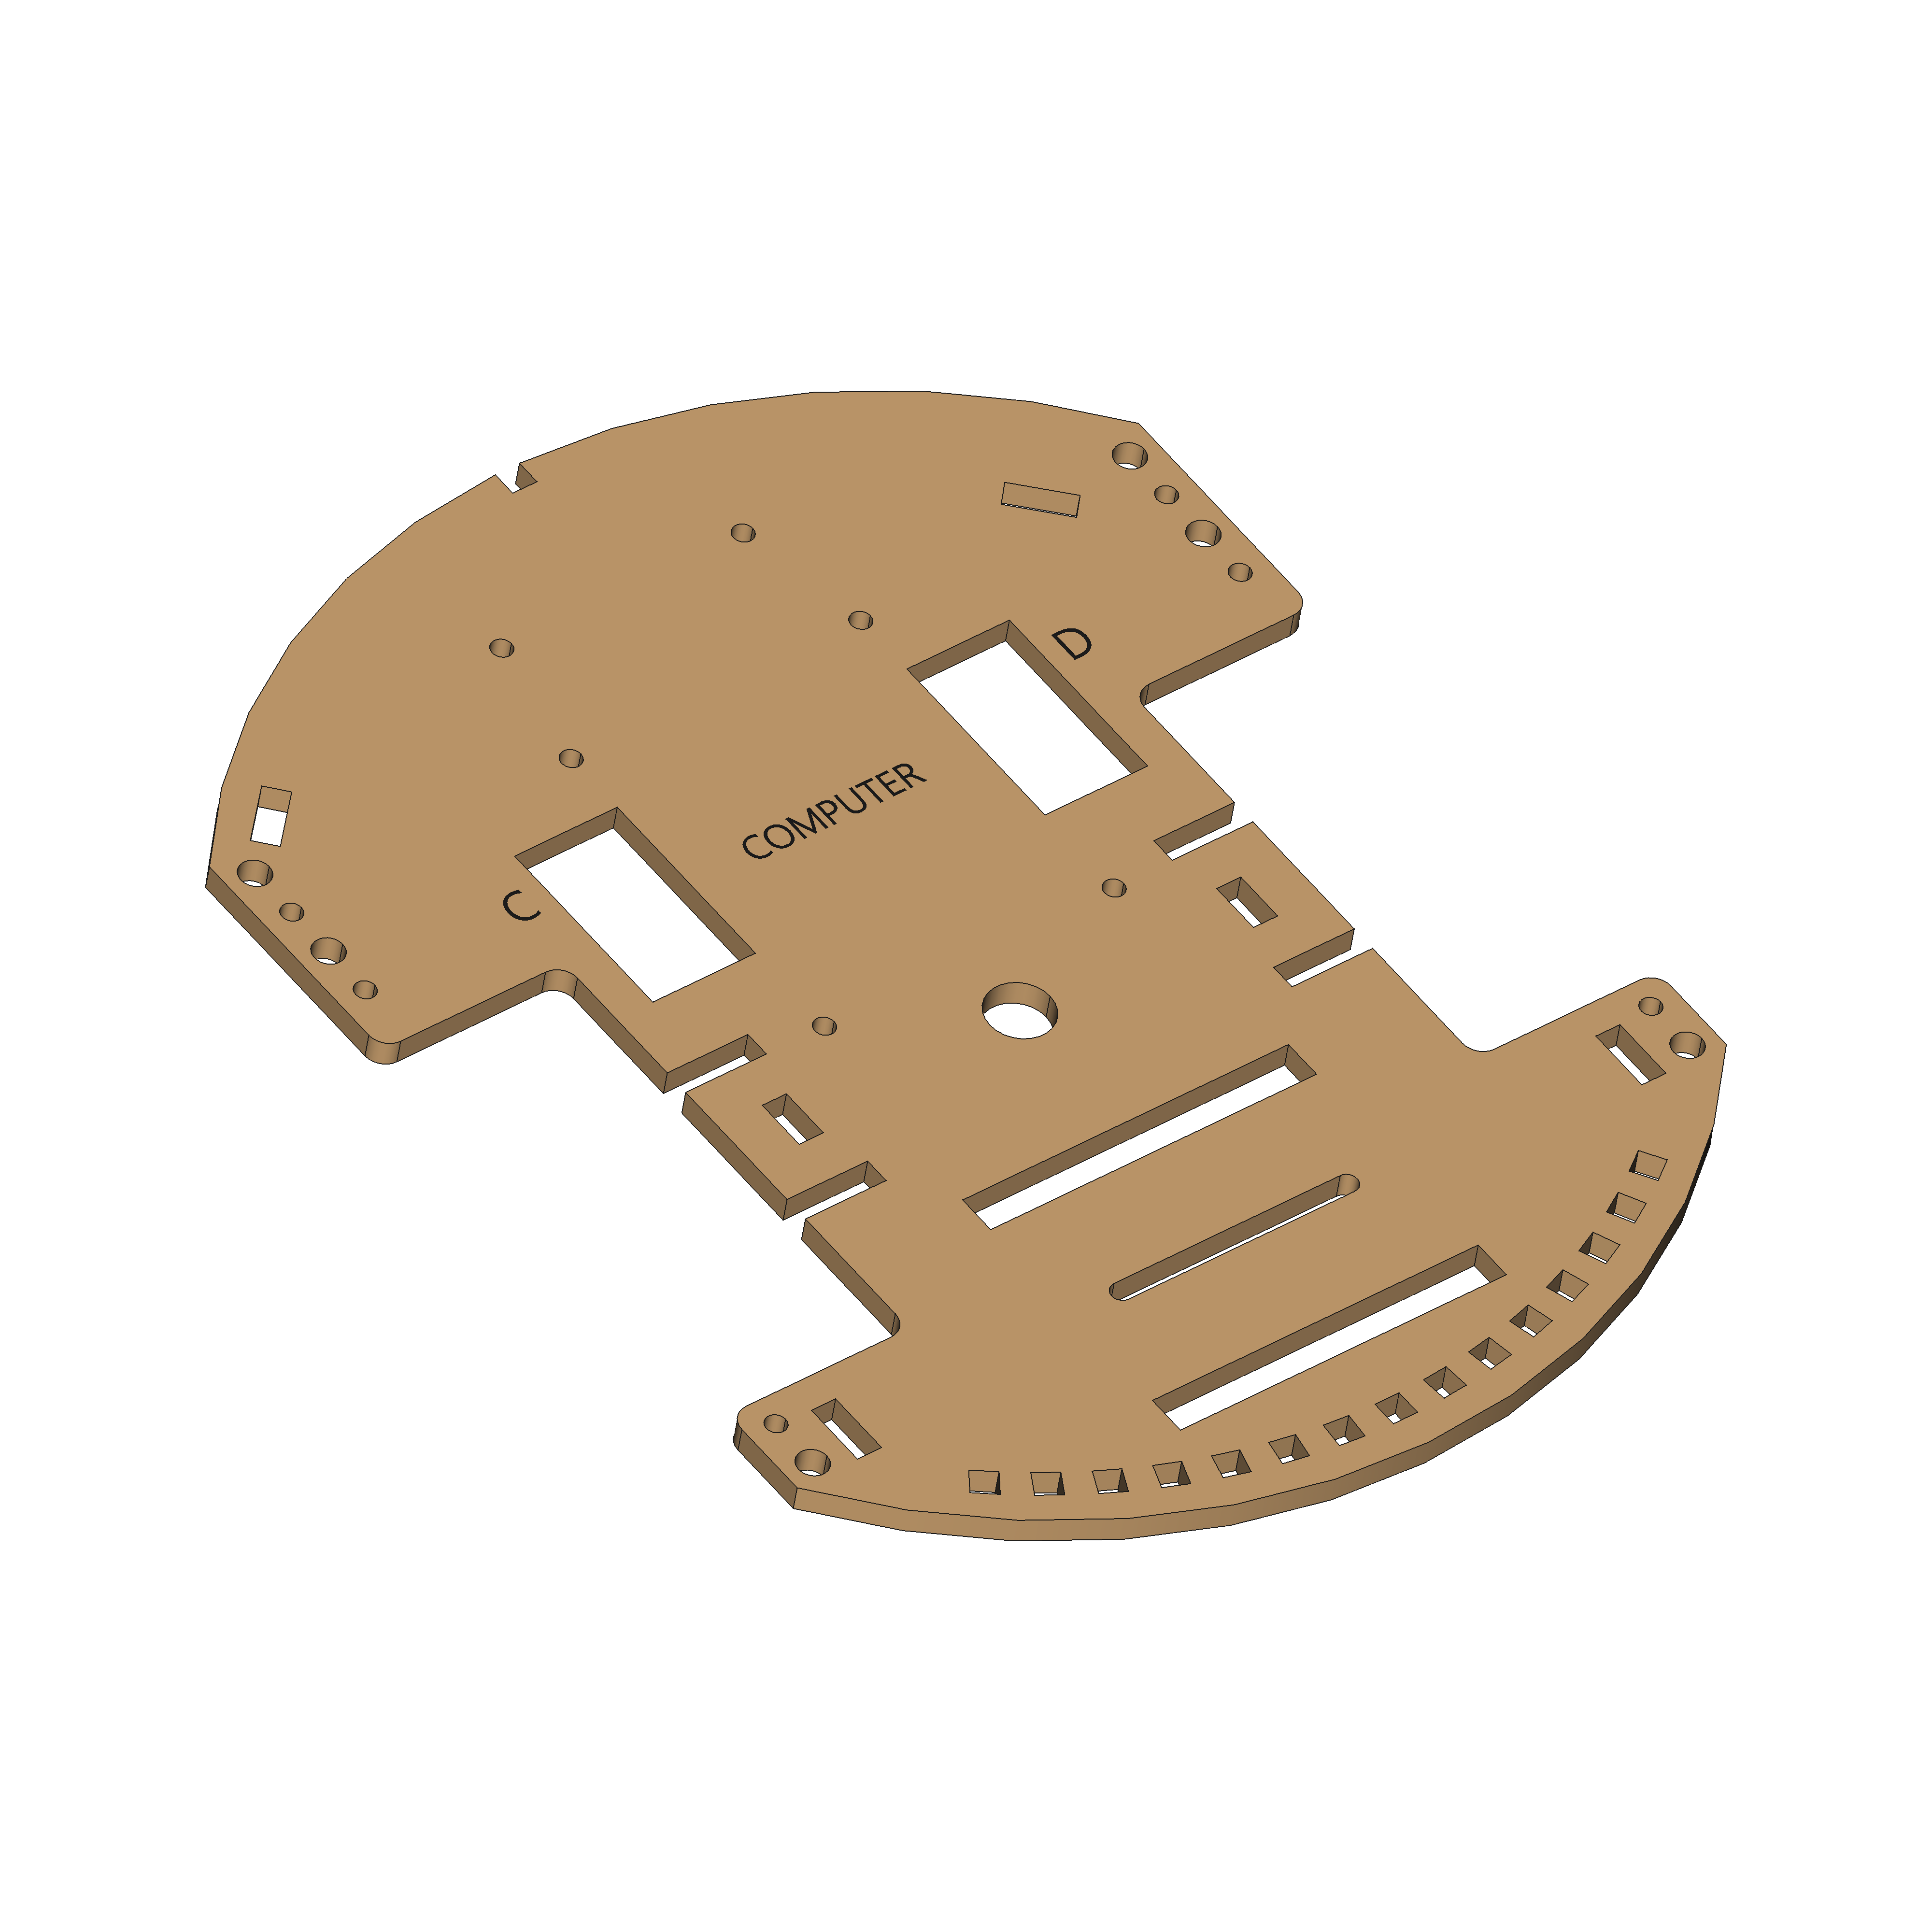
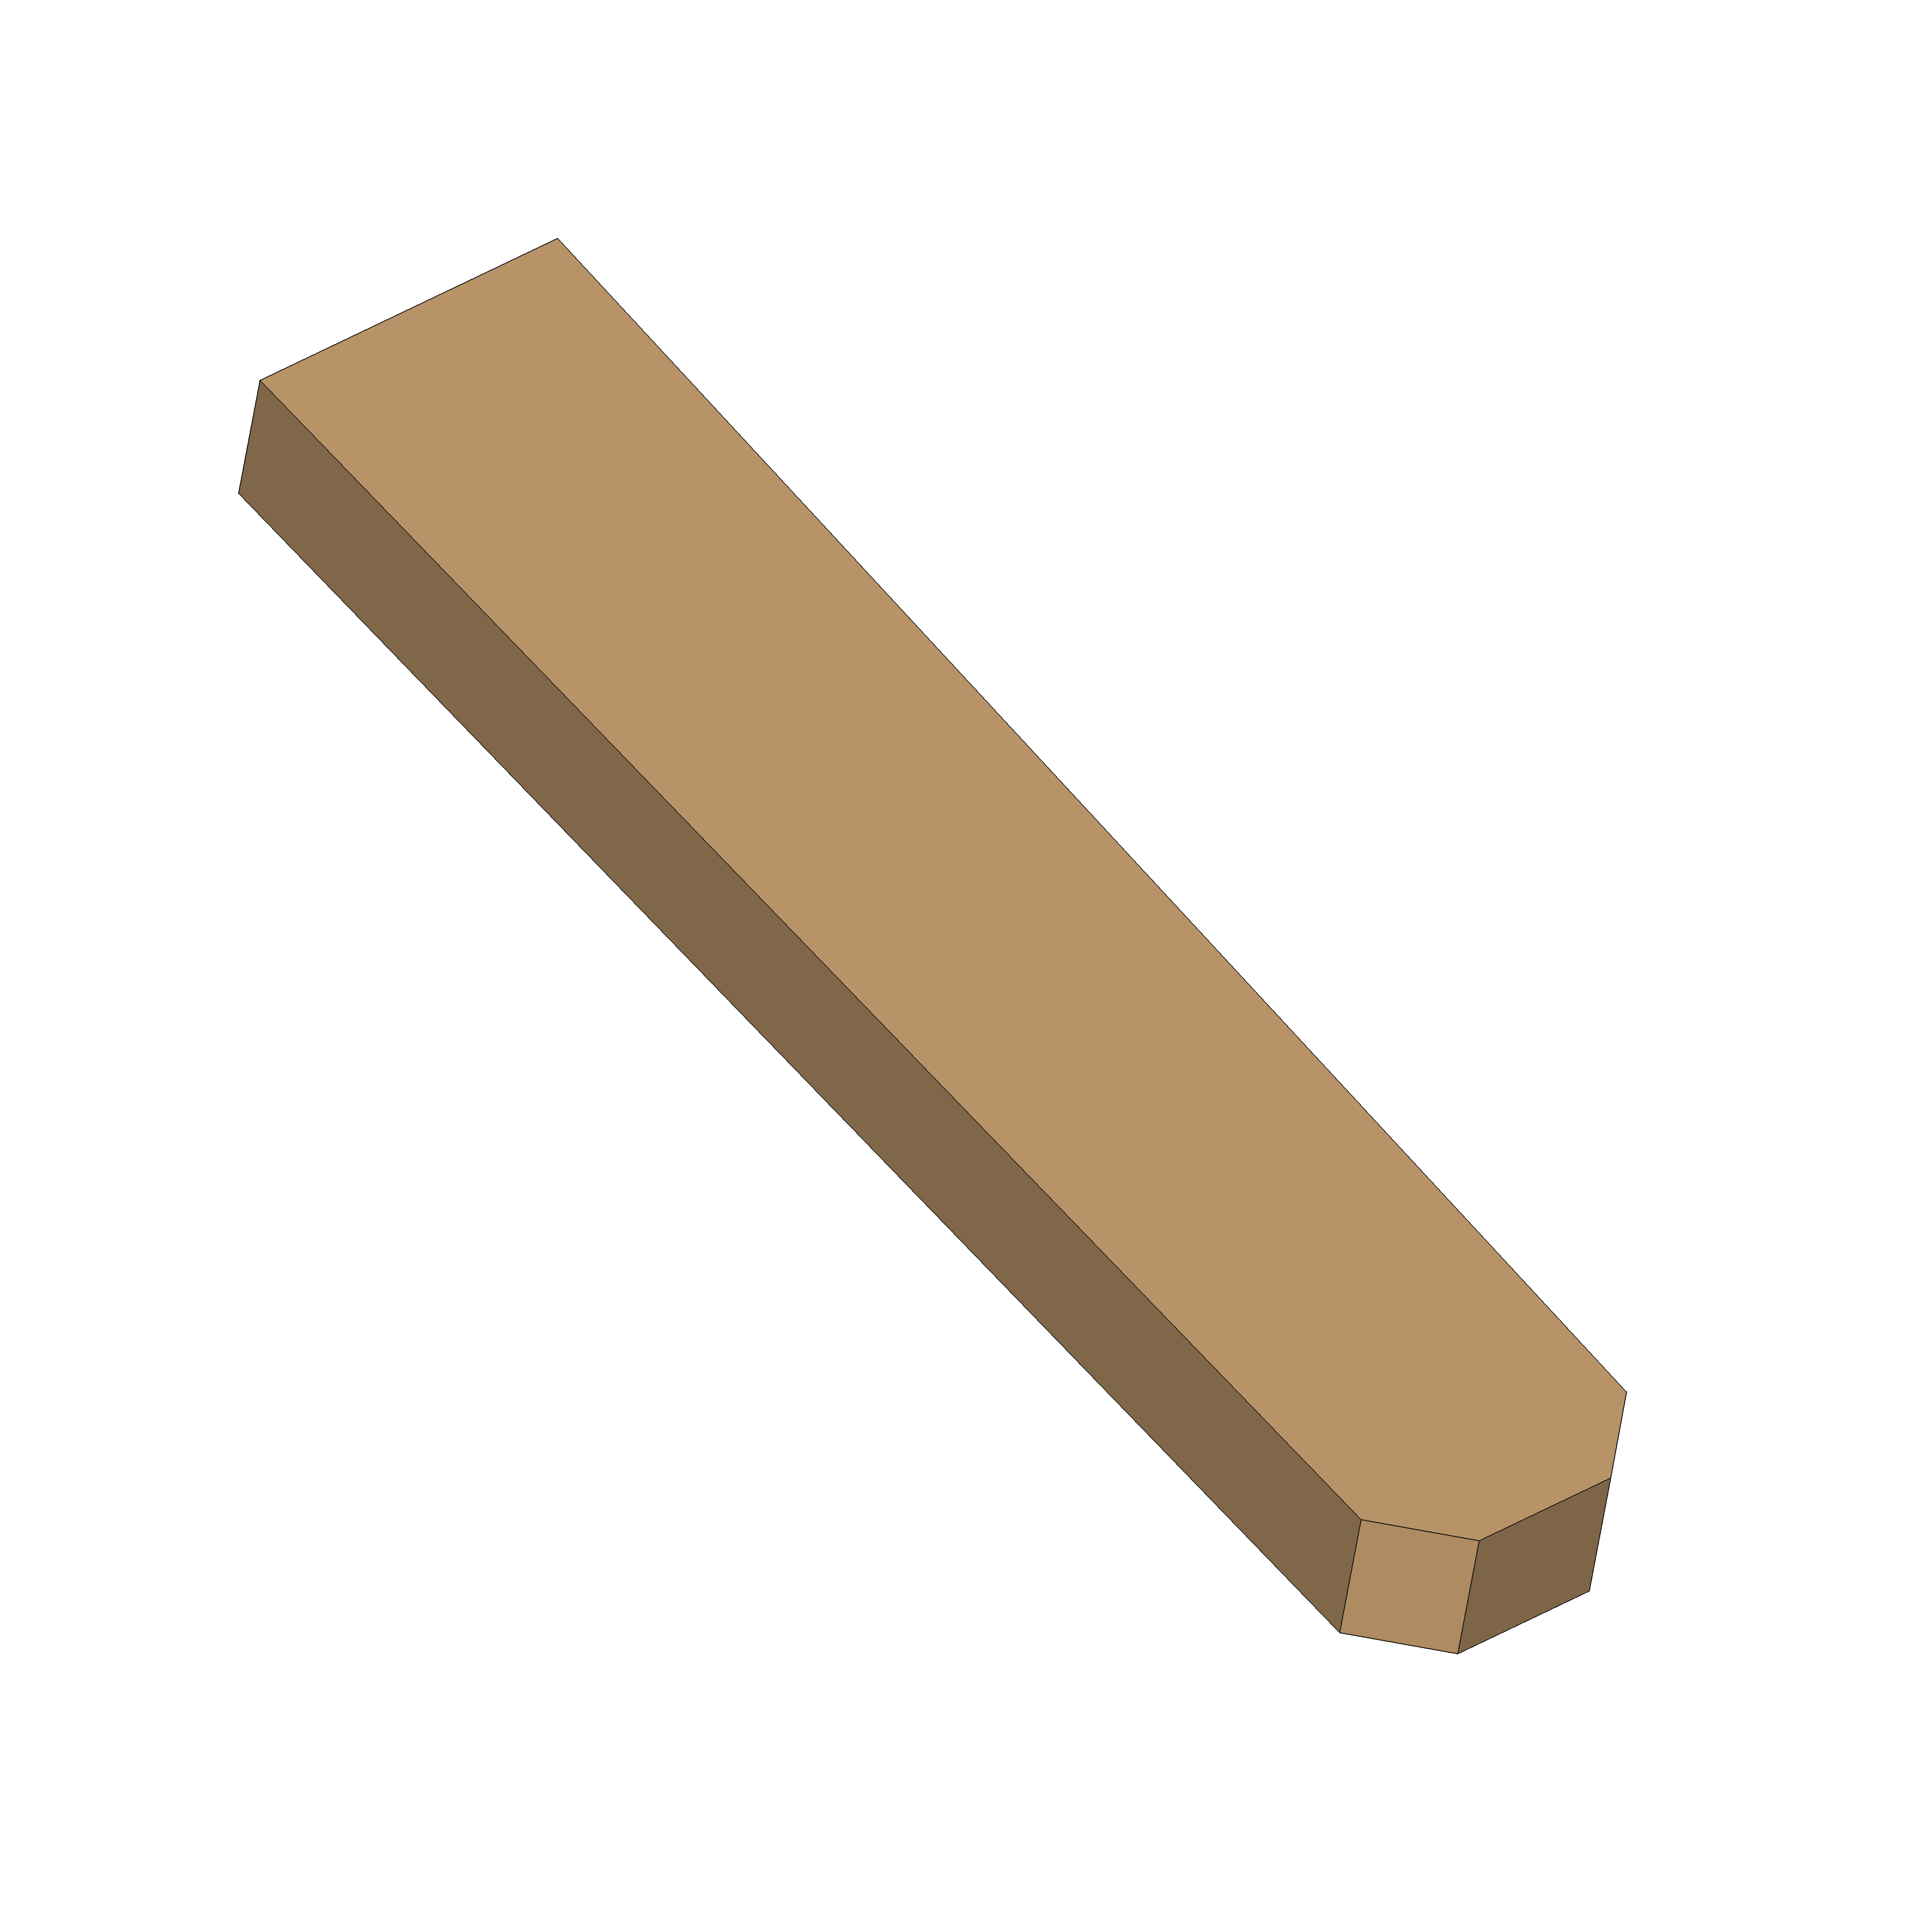
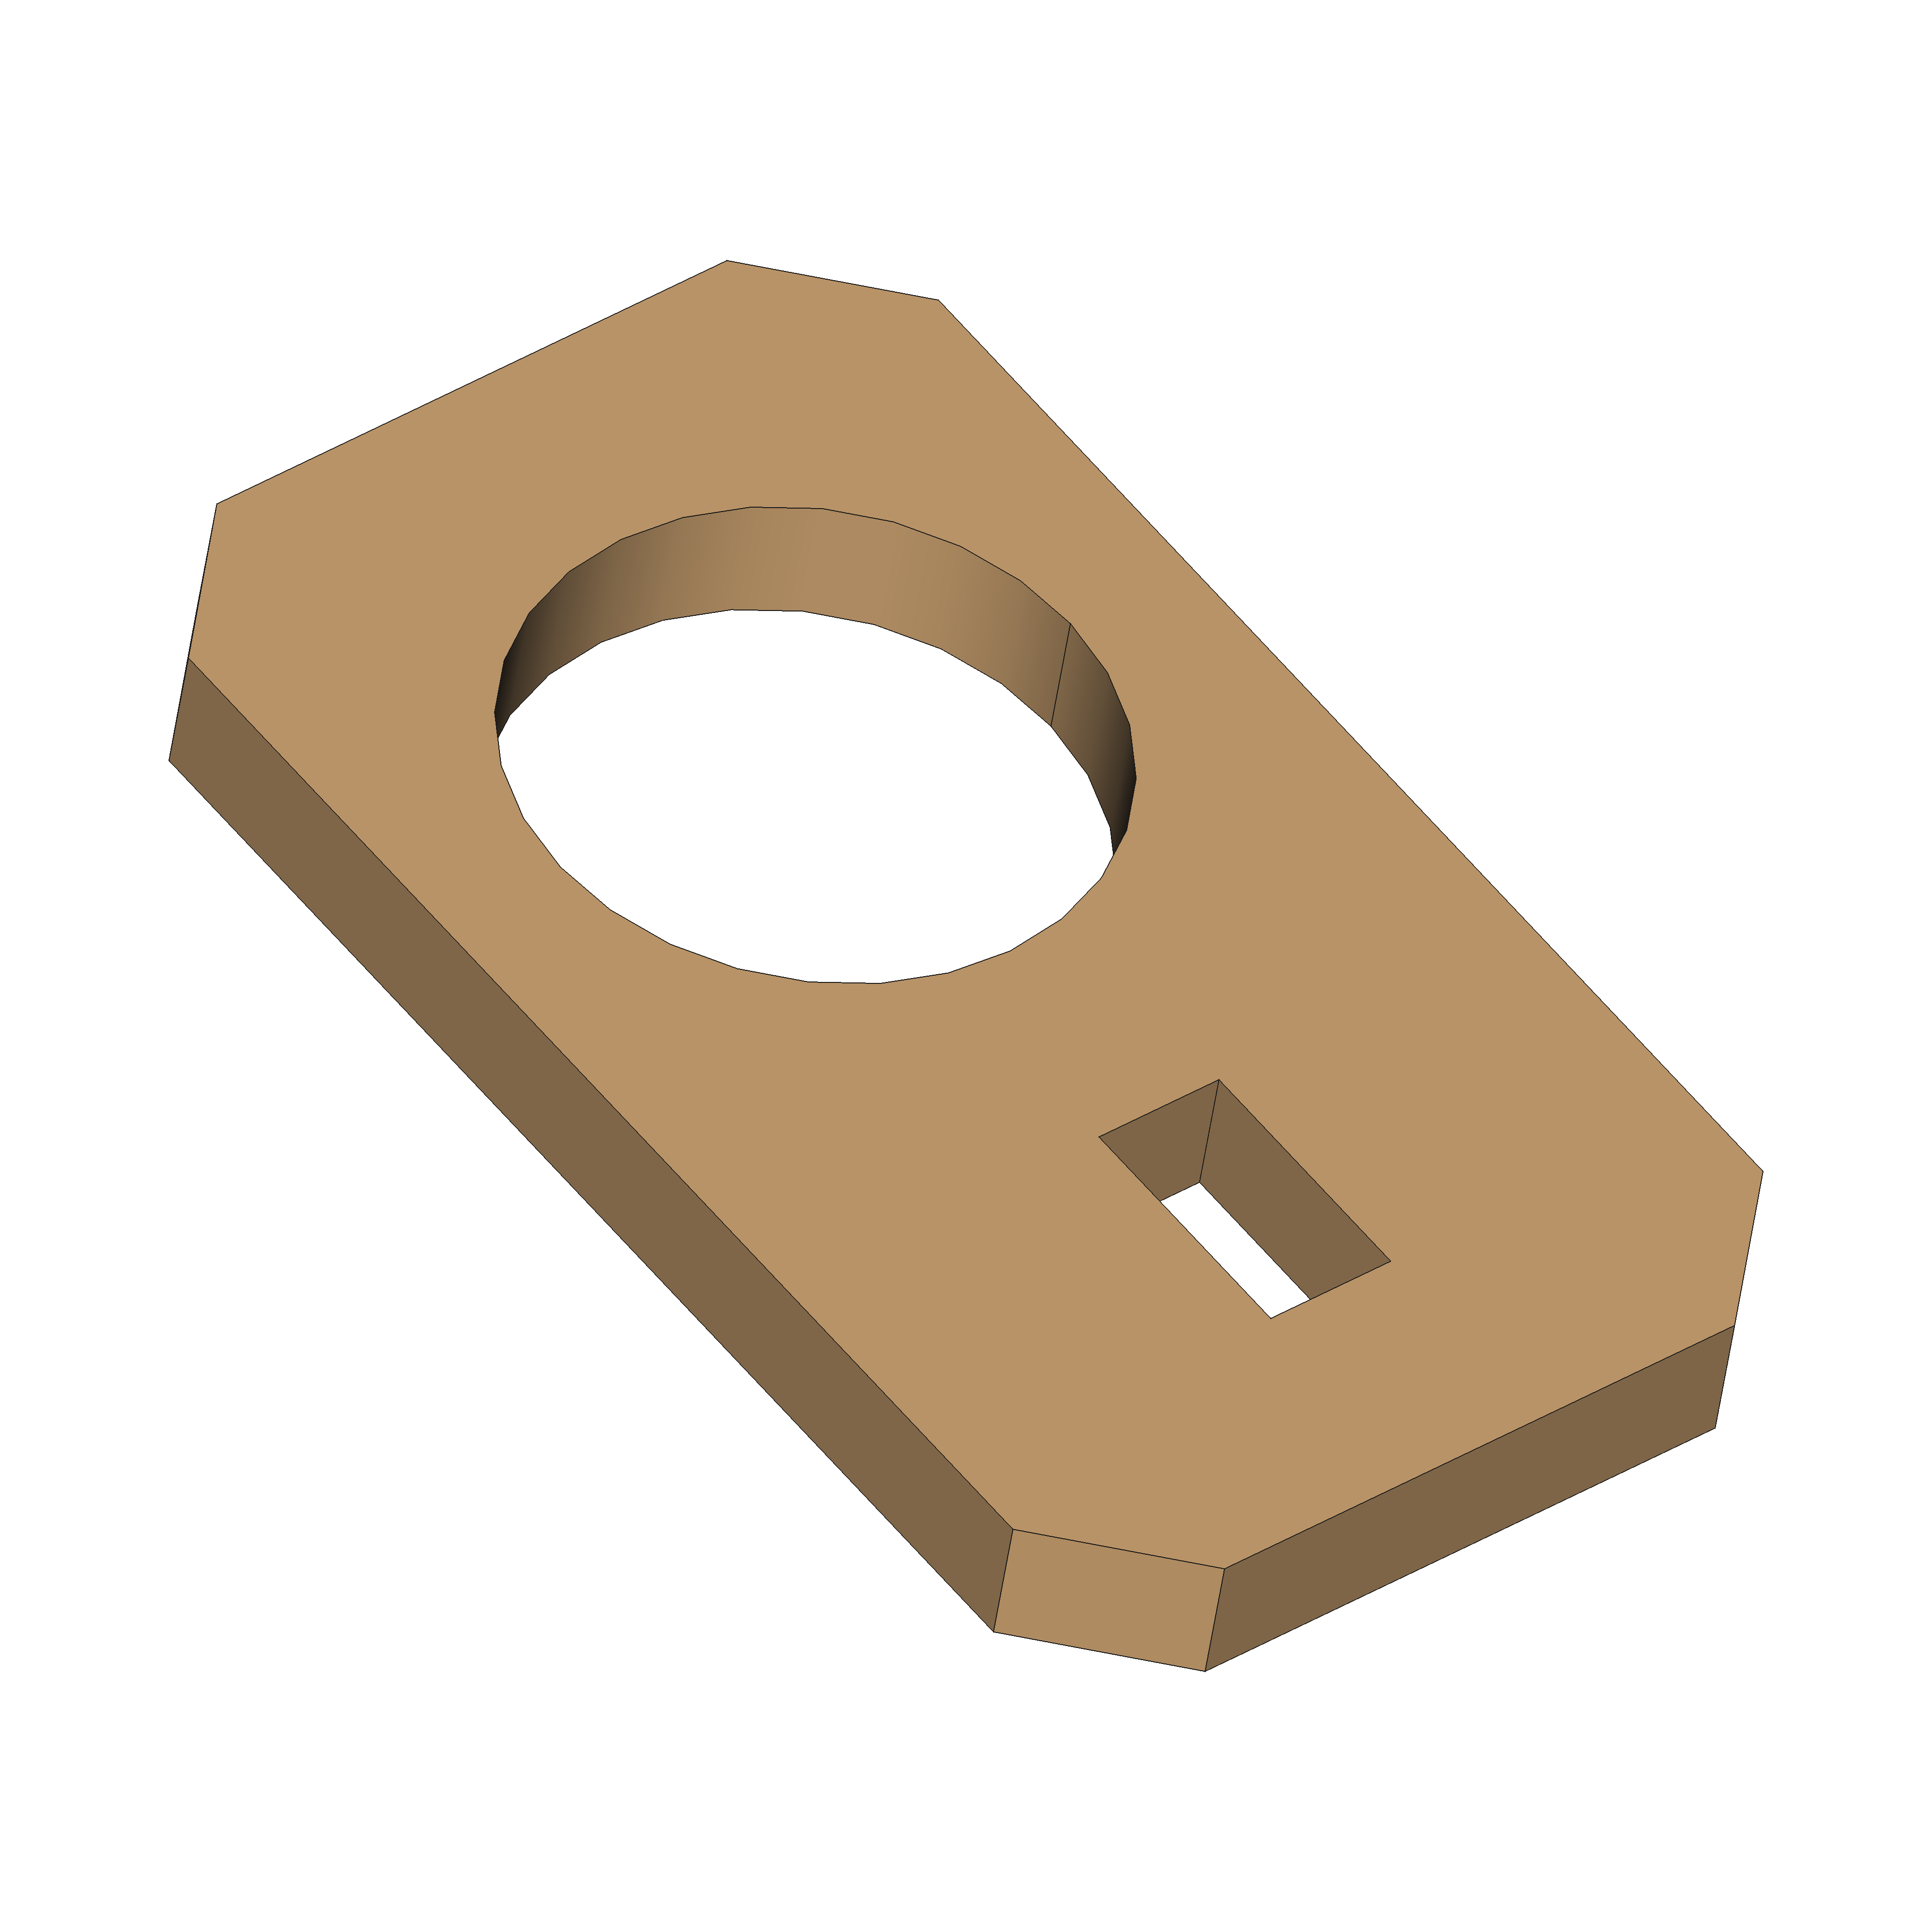
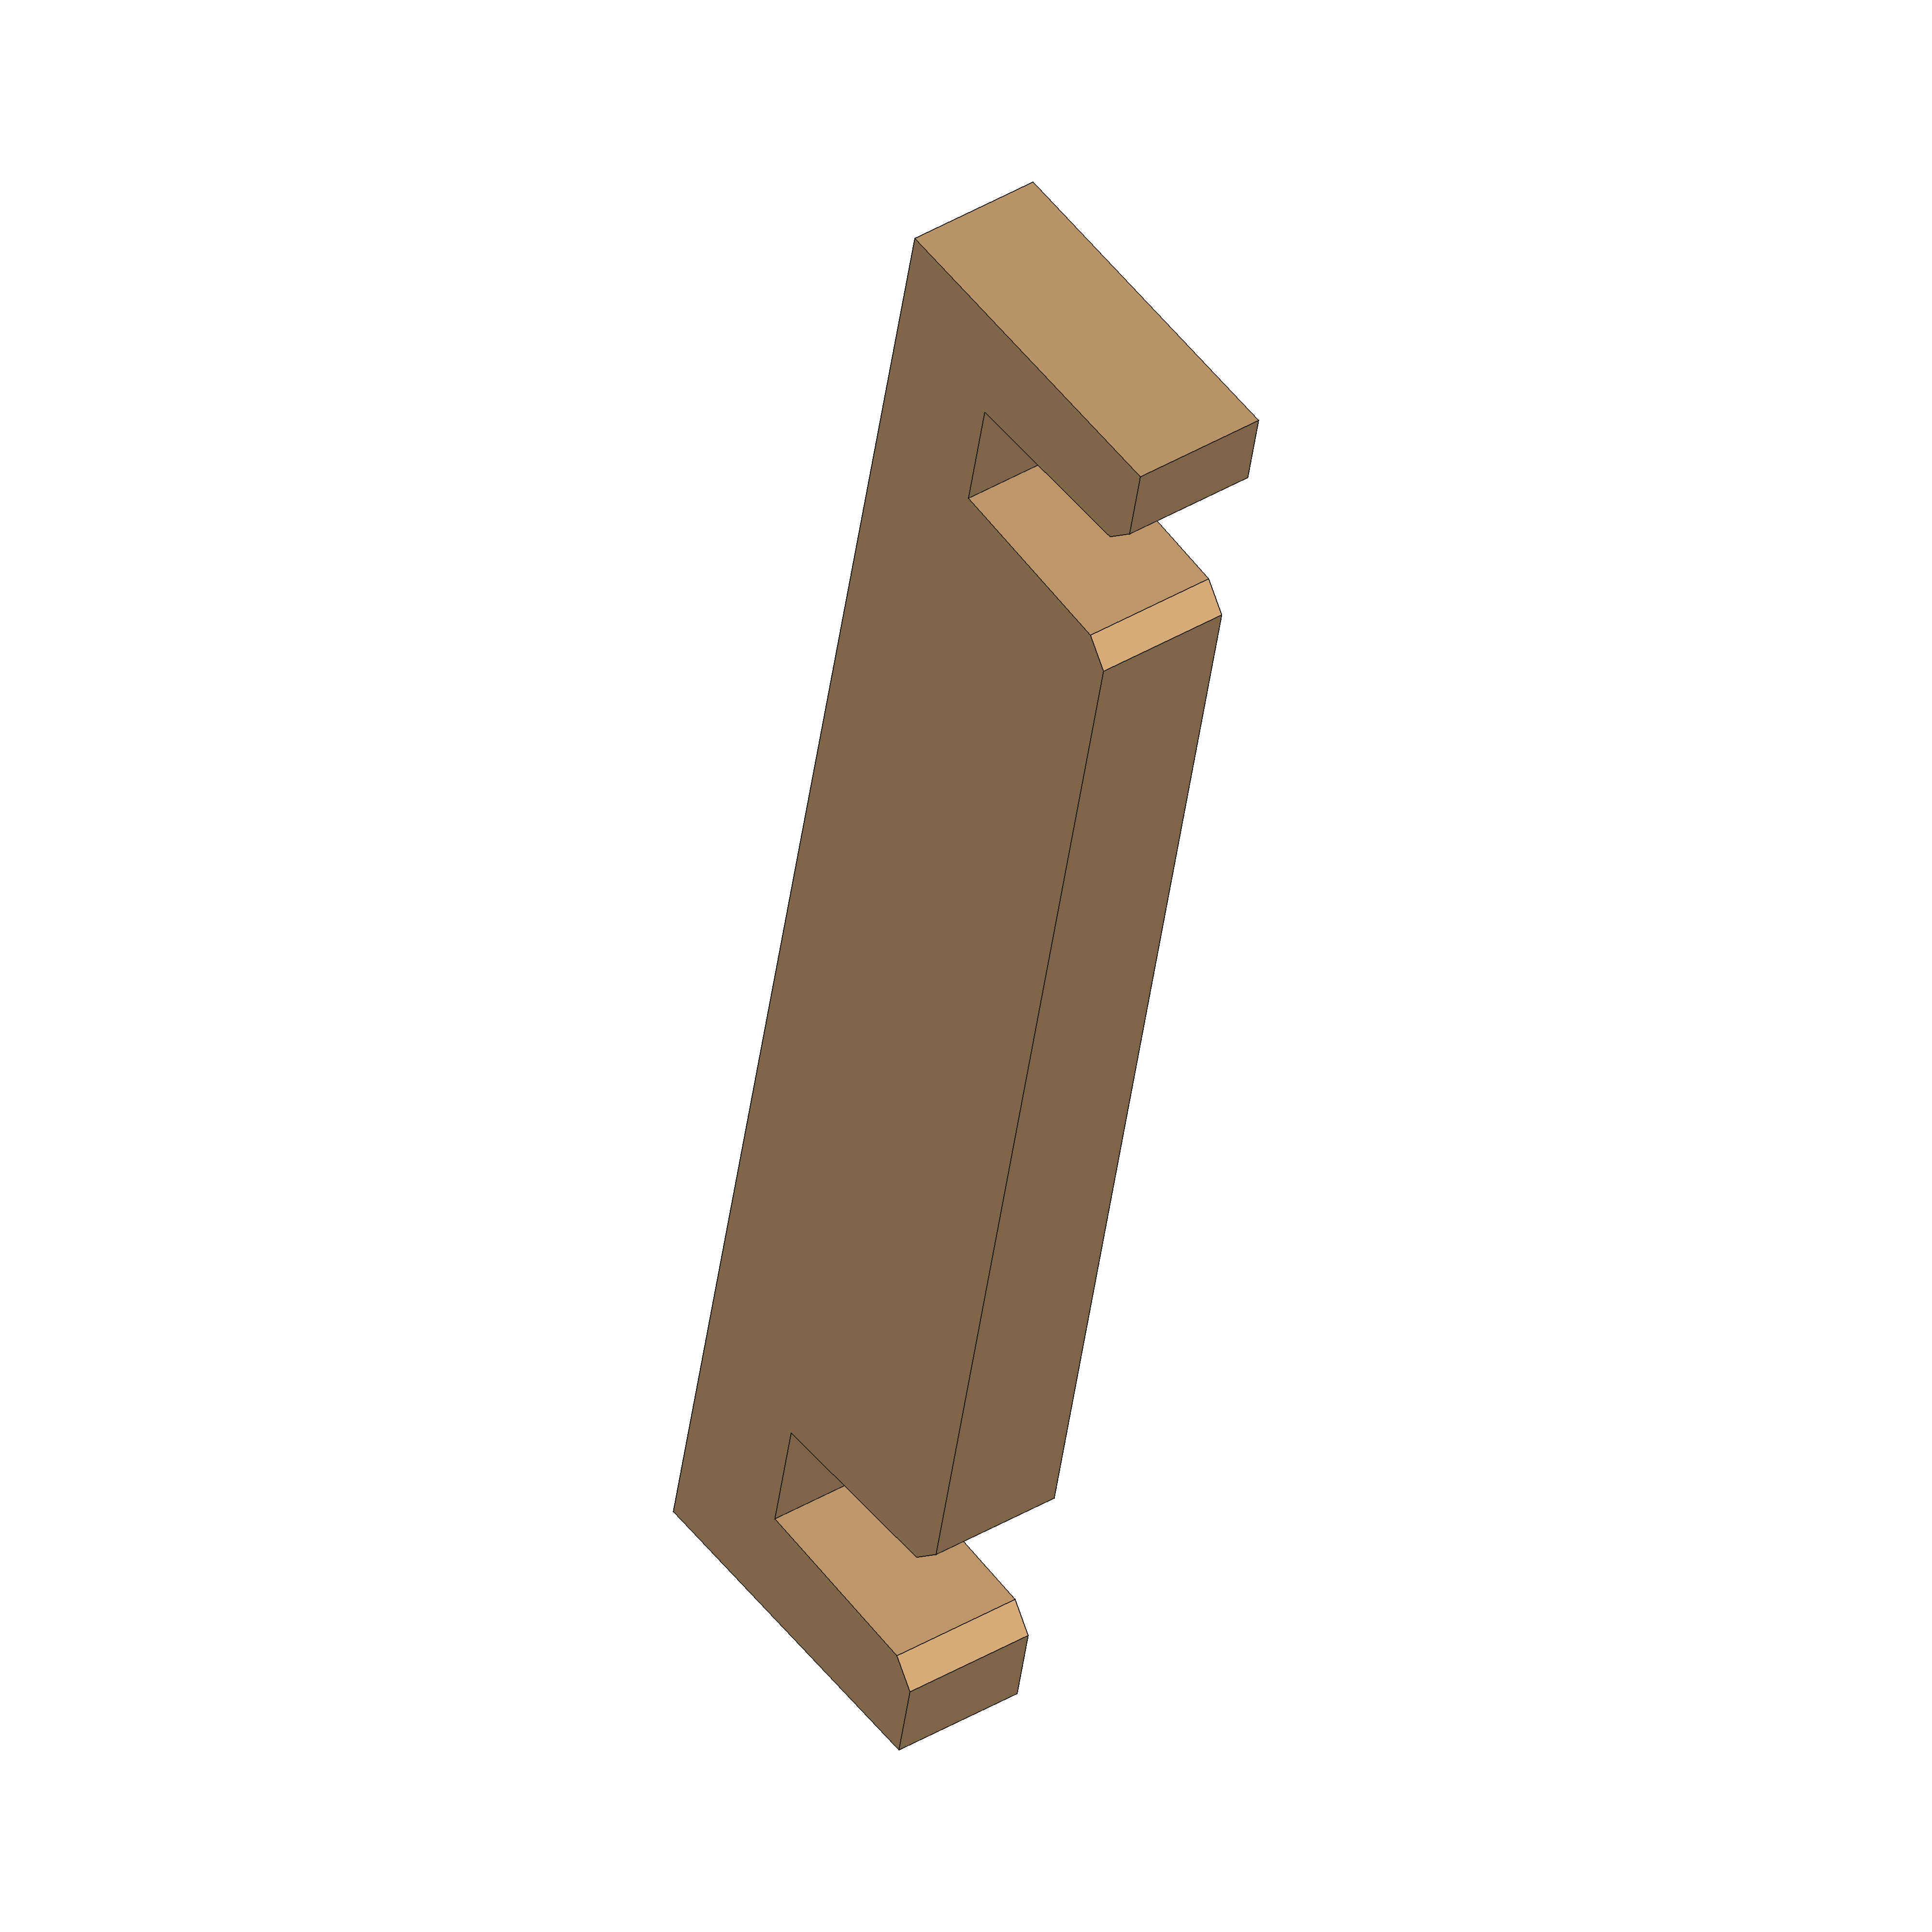
1x Wooden Frame
1x Bottom layer
1x Top layer

2x Motor Clamp

2x Motor Wedge
1x Motor Clamp Lock
4x Standoff
5x Wegde
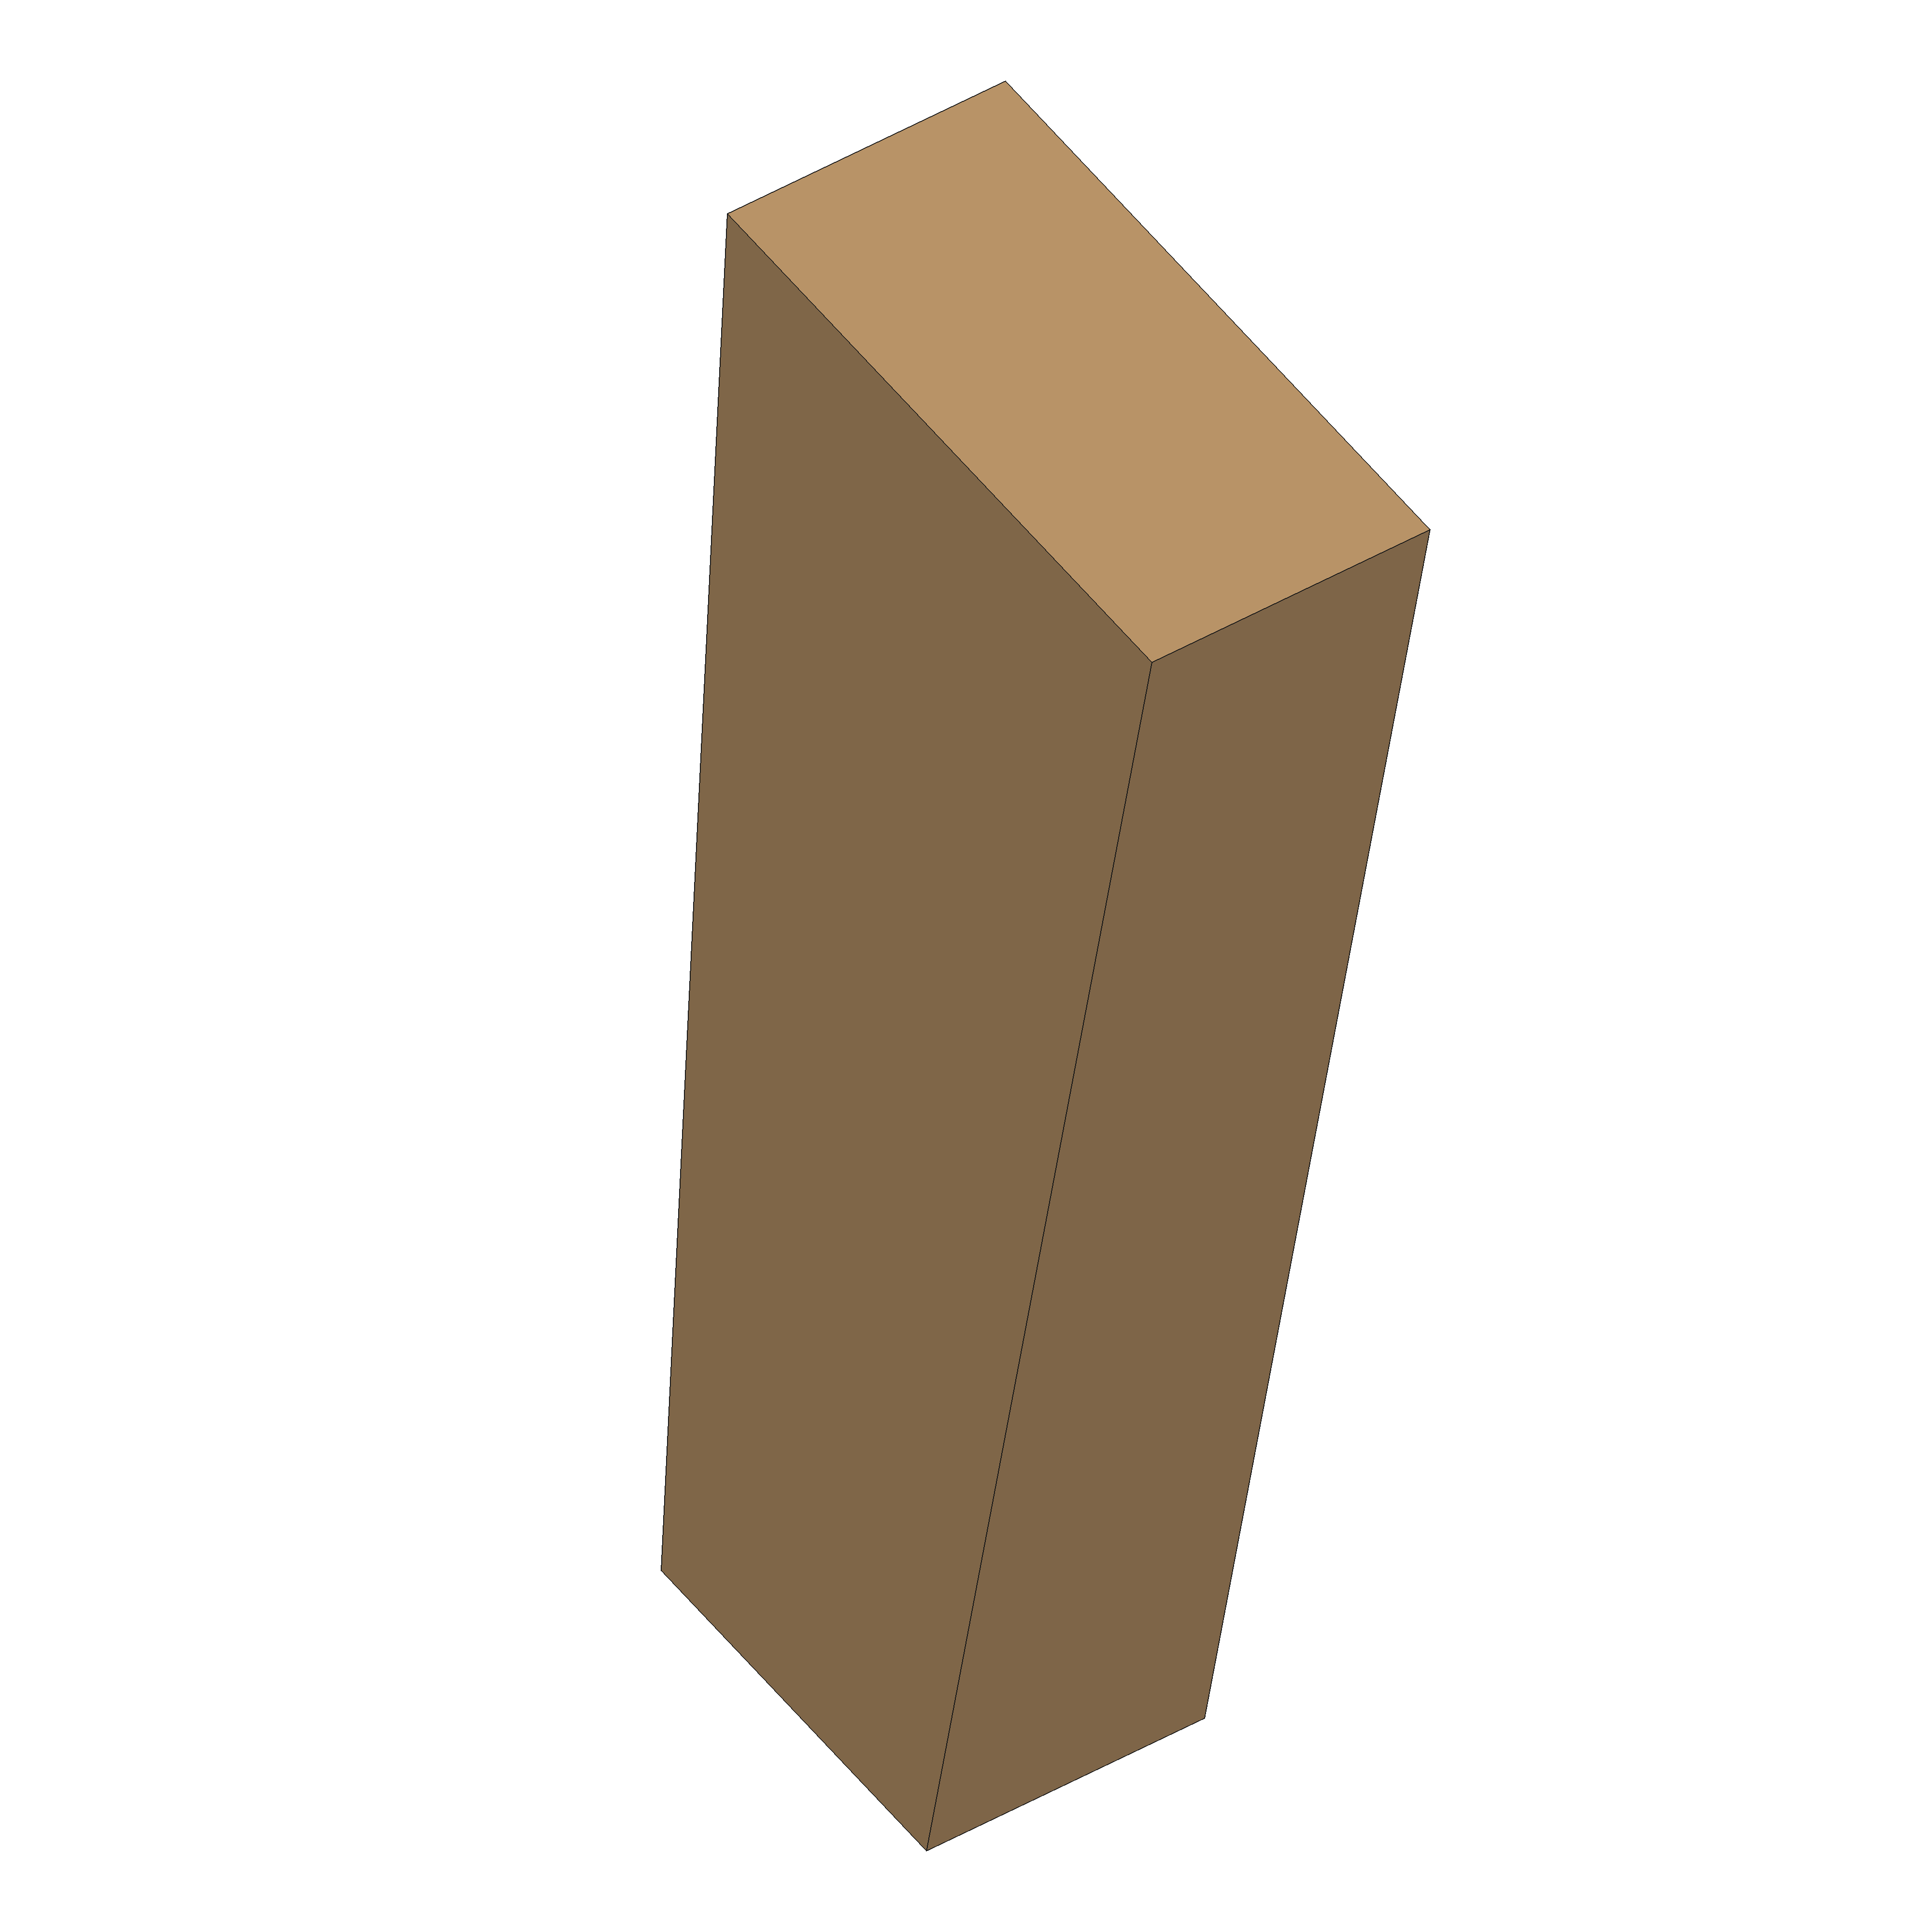
We need the frame to make sure all components stay together.